WRF 설치를 위한 라이브러리 설치 방법
WRF와 WPS 설치는 2편에서 다룸
본문은 유튜브 채널 MeteoFacts 의 WRF Model Setup On Local Machine 영상을 기초로 실제 설치한 과정을 요약하였음.
중간중간 특정 에러가 발생하는 부분에 대해 에러 해결 방법 첨부함.
설치 환경
아래와 같은 환경에서 설치하고 테스트한 결과임
Ubuntu 22.04
Dell precision workstation 32-cpu
NVIDIA RTX-6000
목차
1. WRF 설치 도움 페이지 (Ncar)
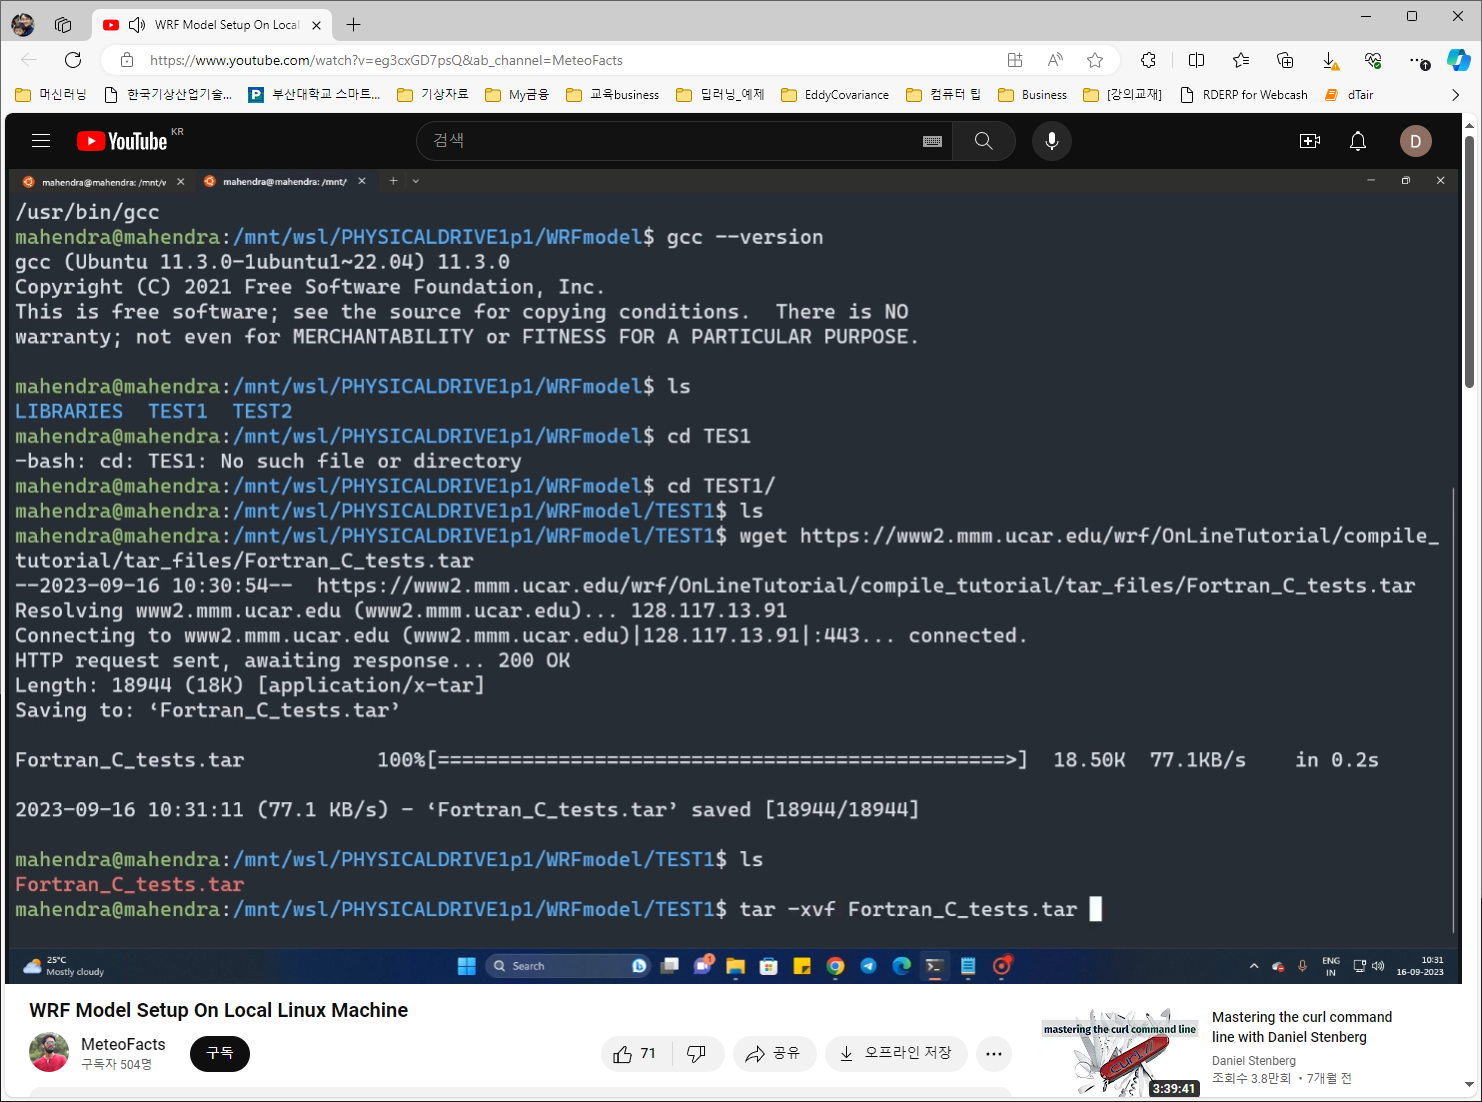
2. gfortran, cpp, gcc 설치
2.1. 설치 확인
2.2.. Fortran-C 테스트
3.netcdf-c 설치
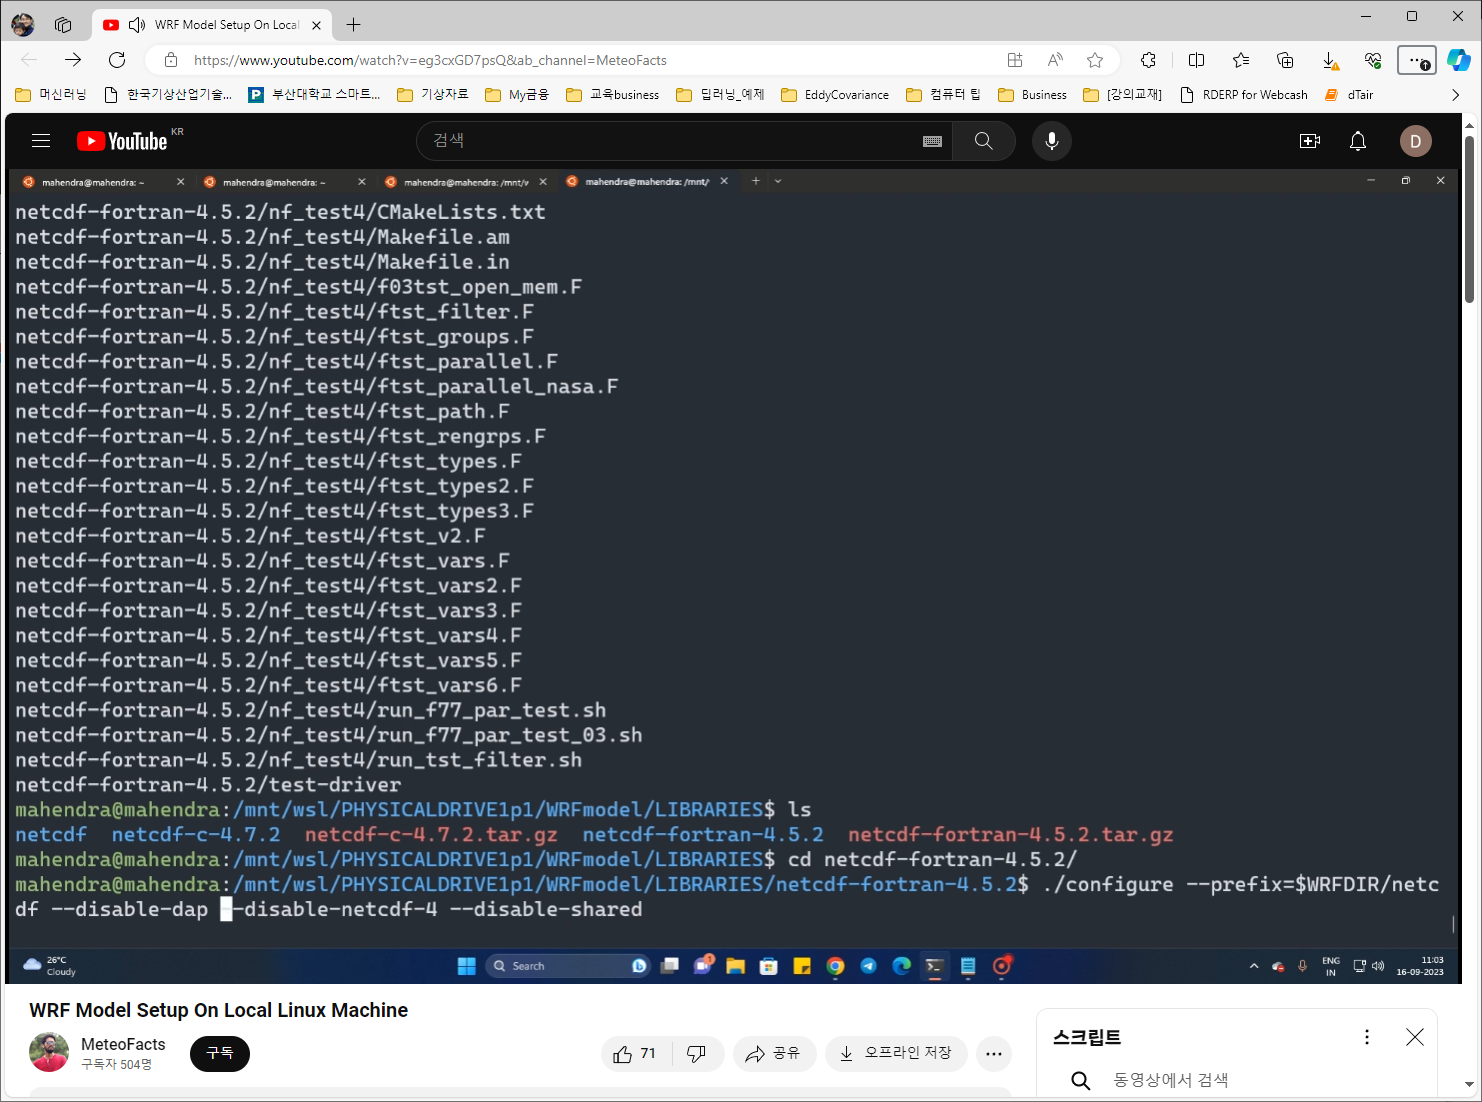
4. netcdf-fortran 설치
5. mpich 설치
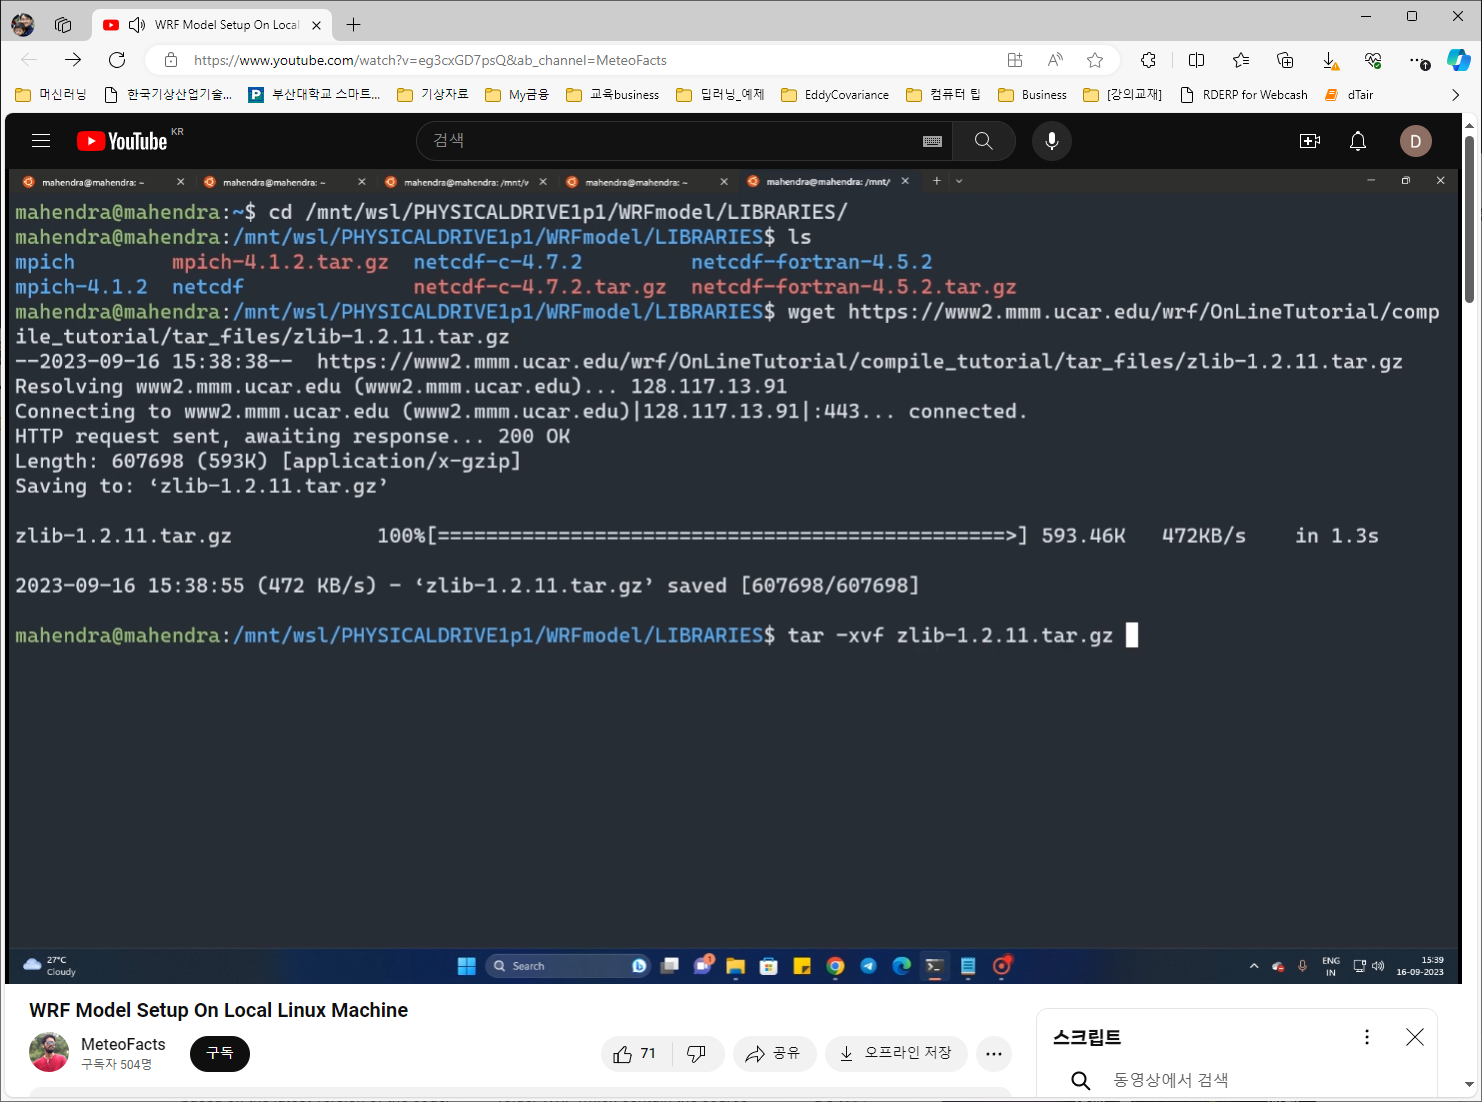
6. zlib 설치
7. libpng 설치
8. jasper 설치
9. 설치 라이브러리 확인
10. WRF, WPS 설치 (2편에서)
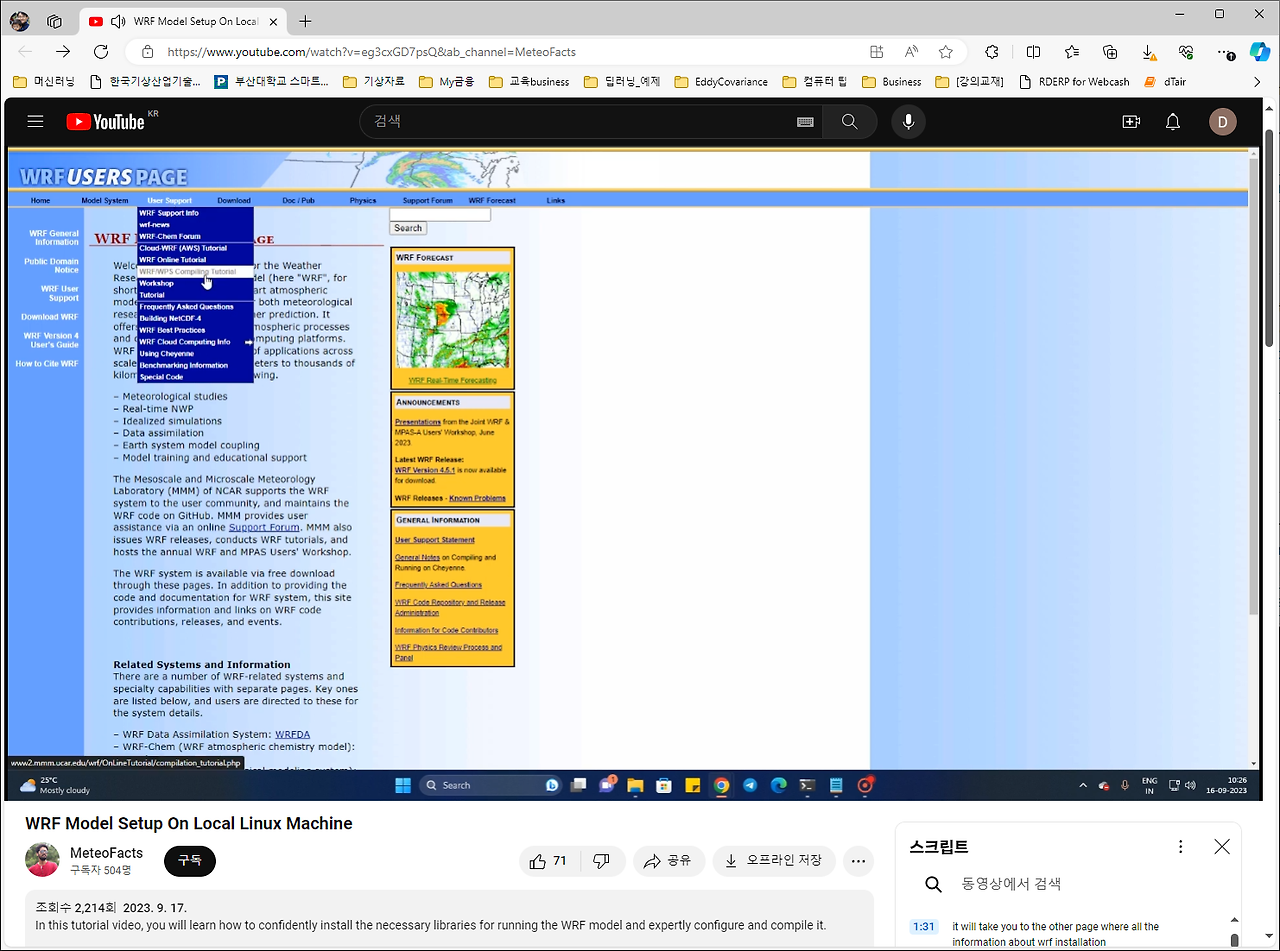
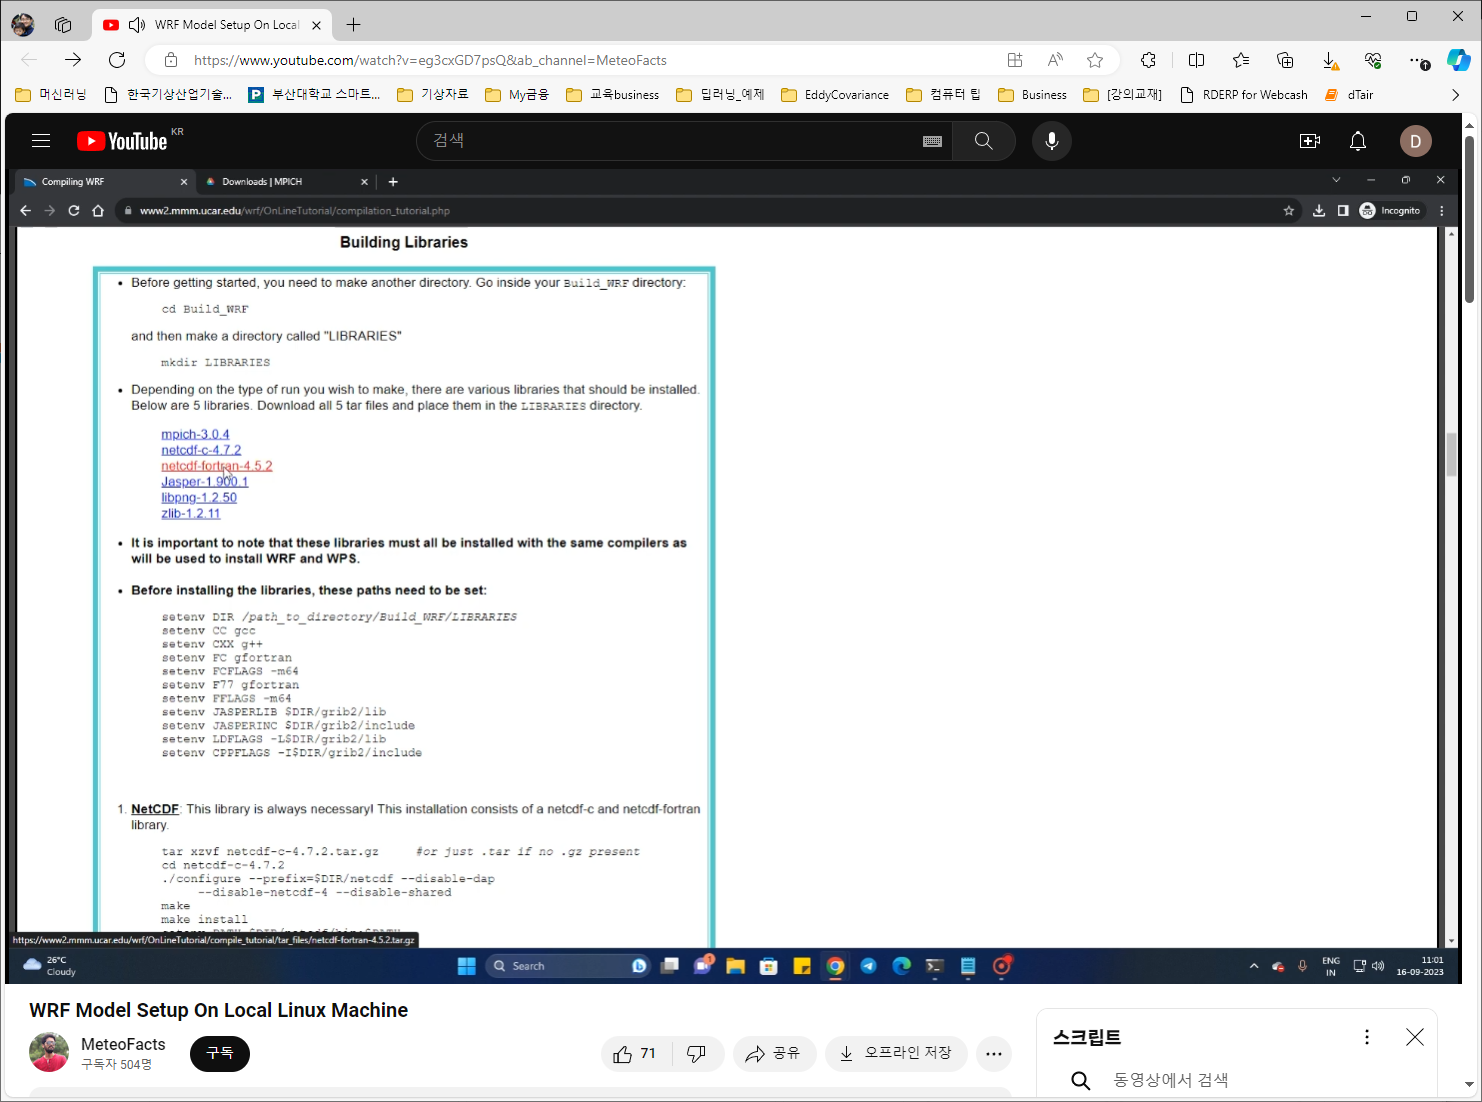
1. WRF 설치 도움 페이지
아래 페이지로 이동
WRF Model Users Site (ucar.edu)
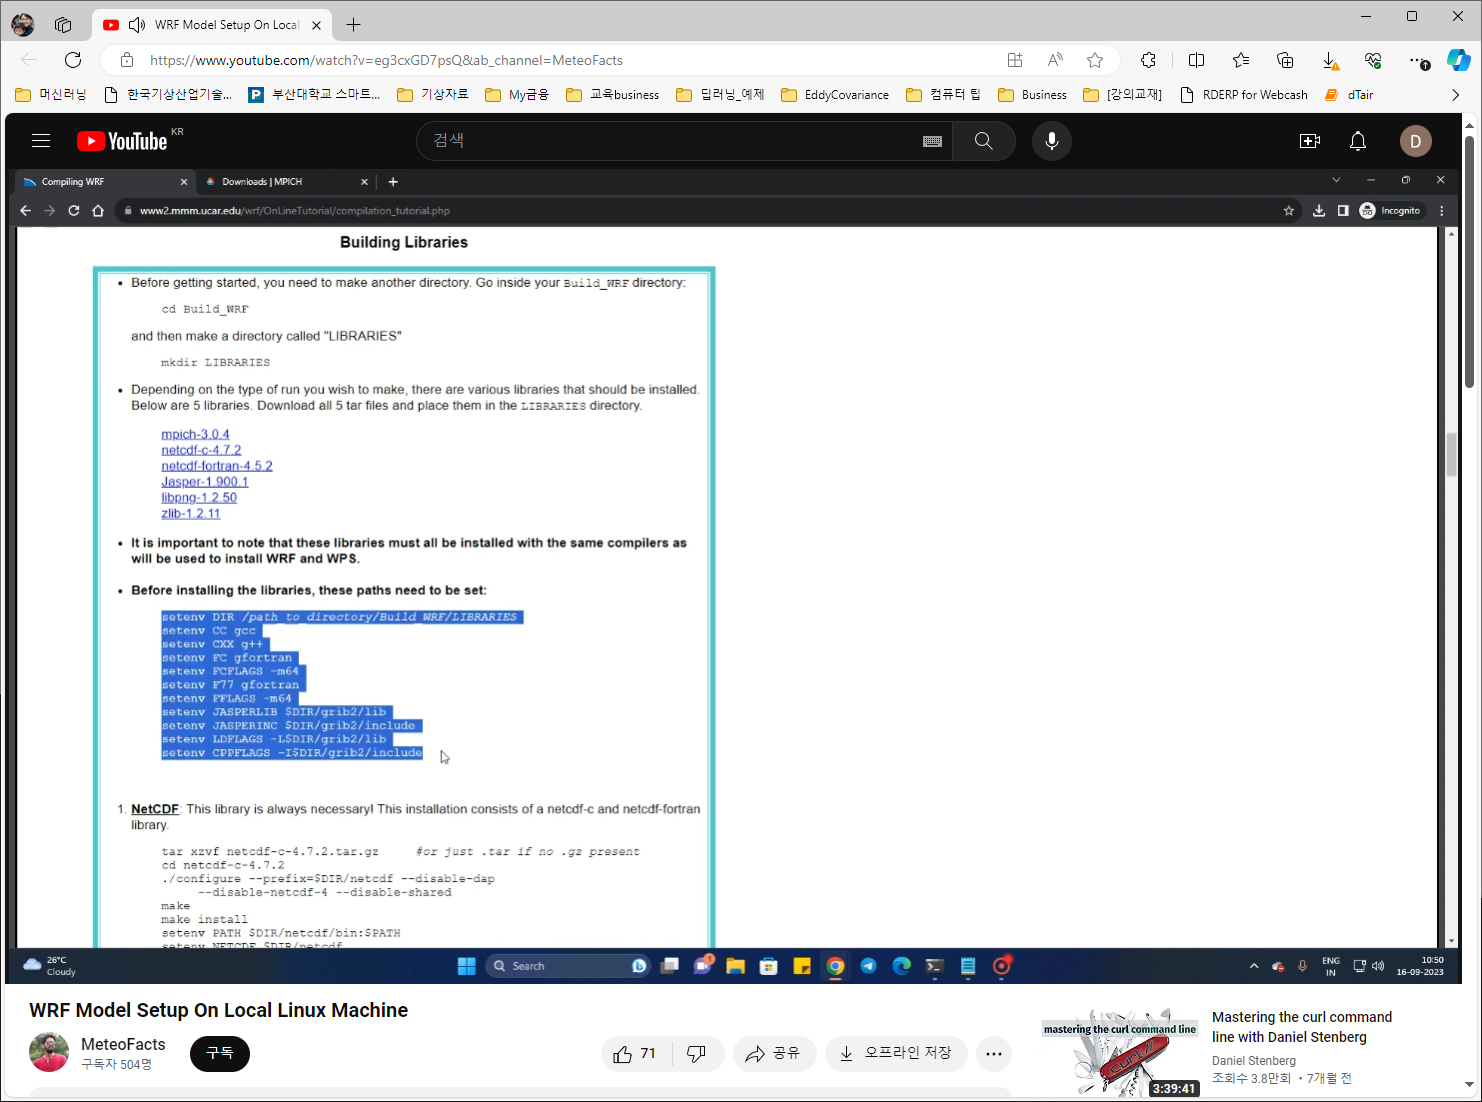
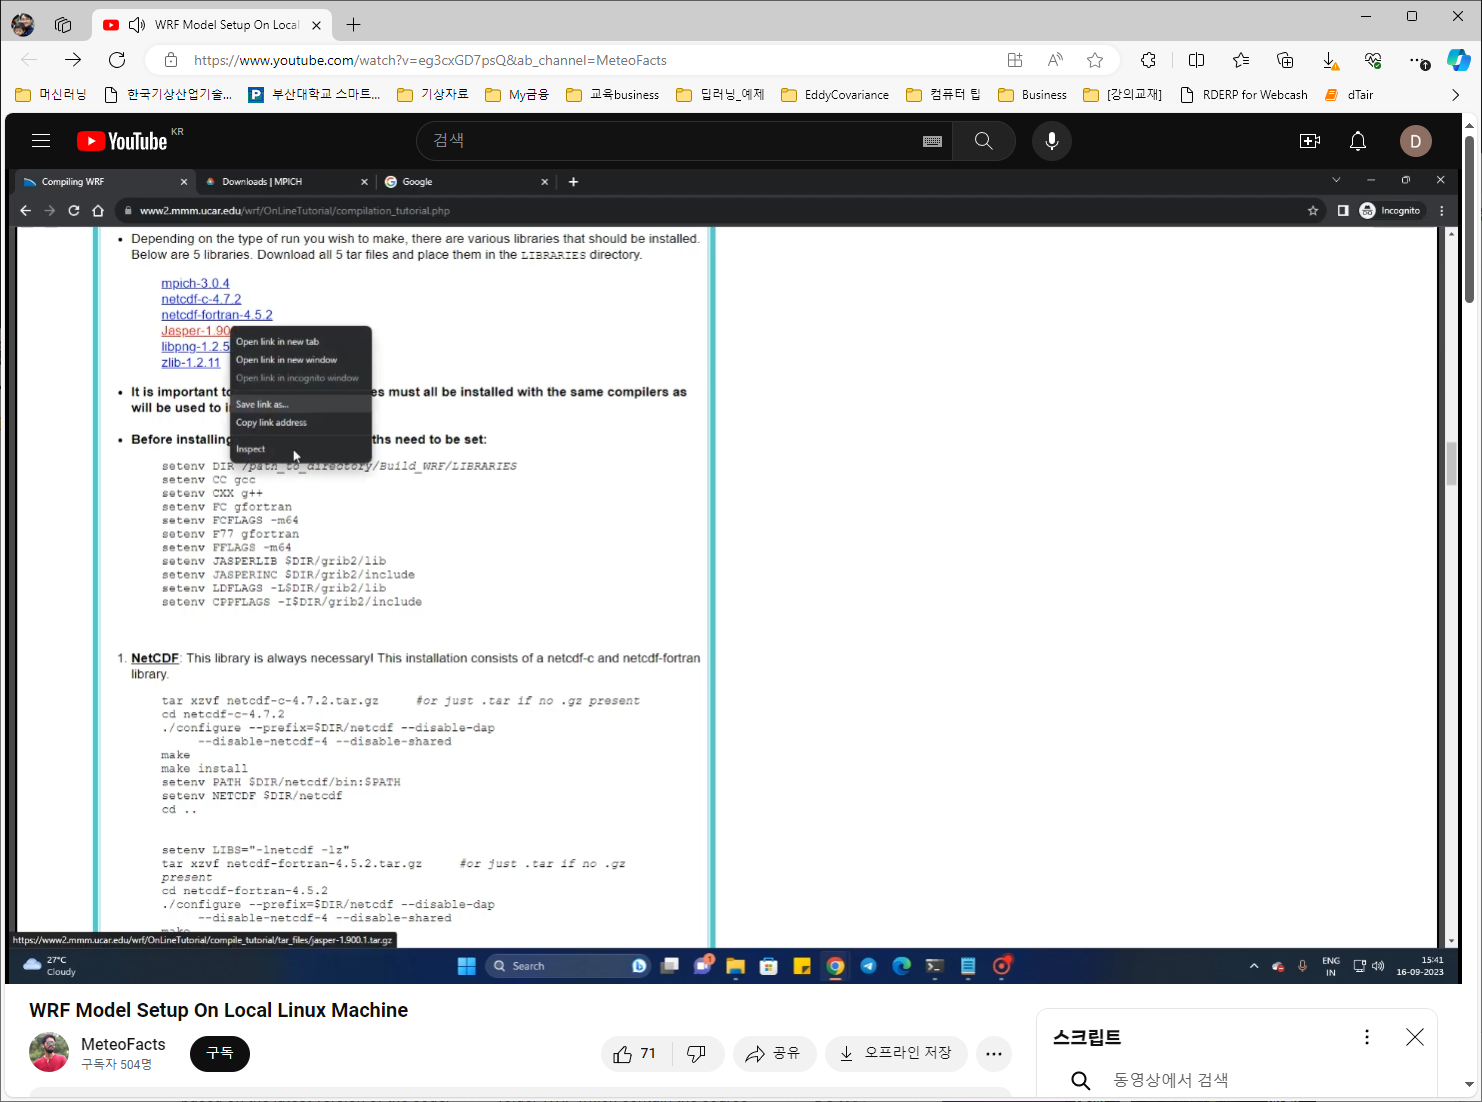
2. gfortran, cpp, gcc 설치

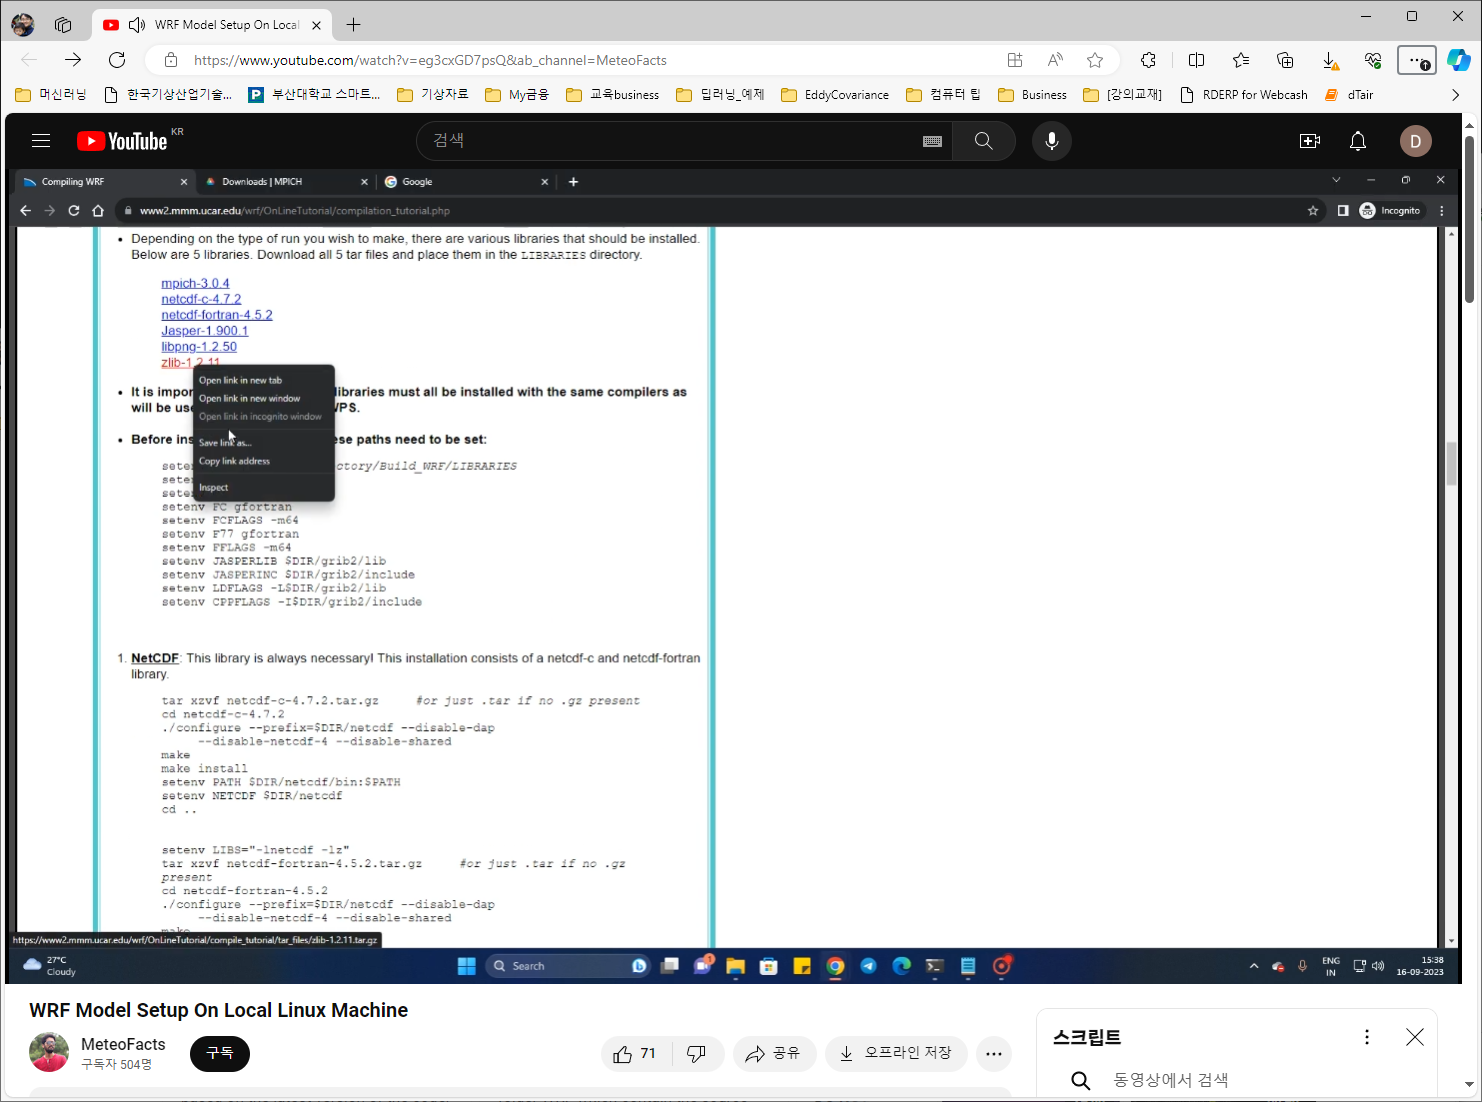
https://www2.mmm.ucar.edu/wrf/OnLineTutorial/compilation_tutorial.php
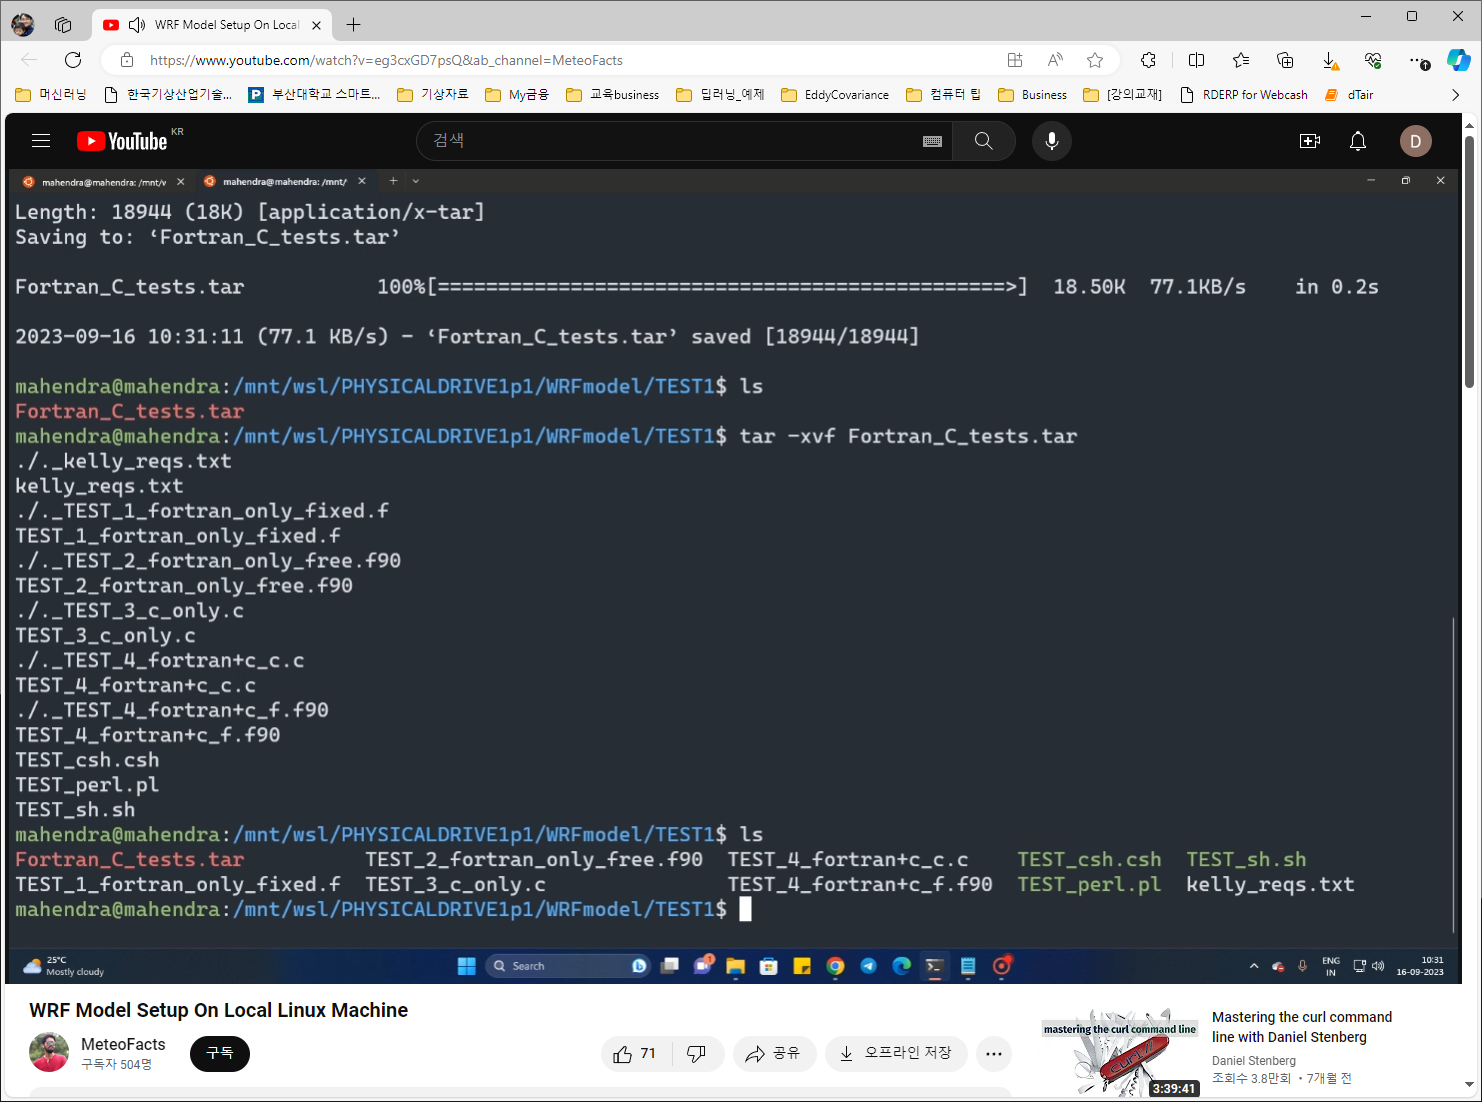
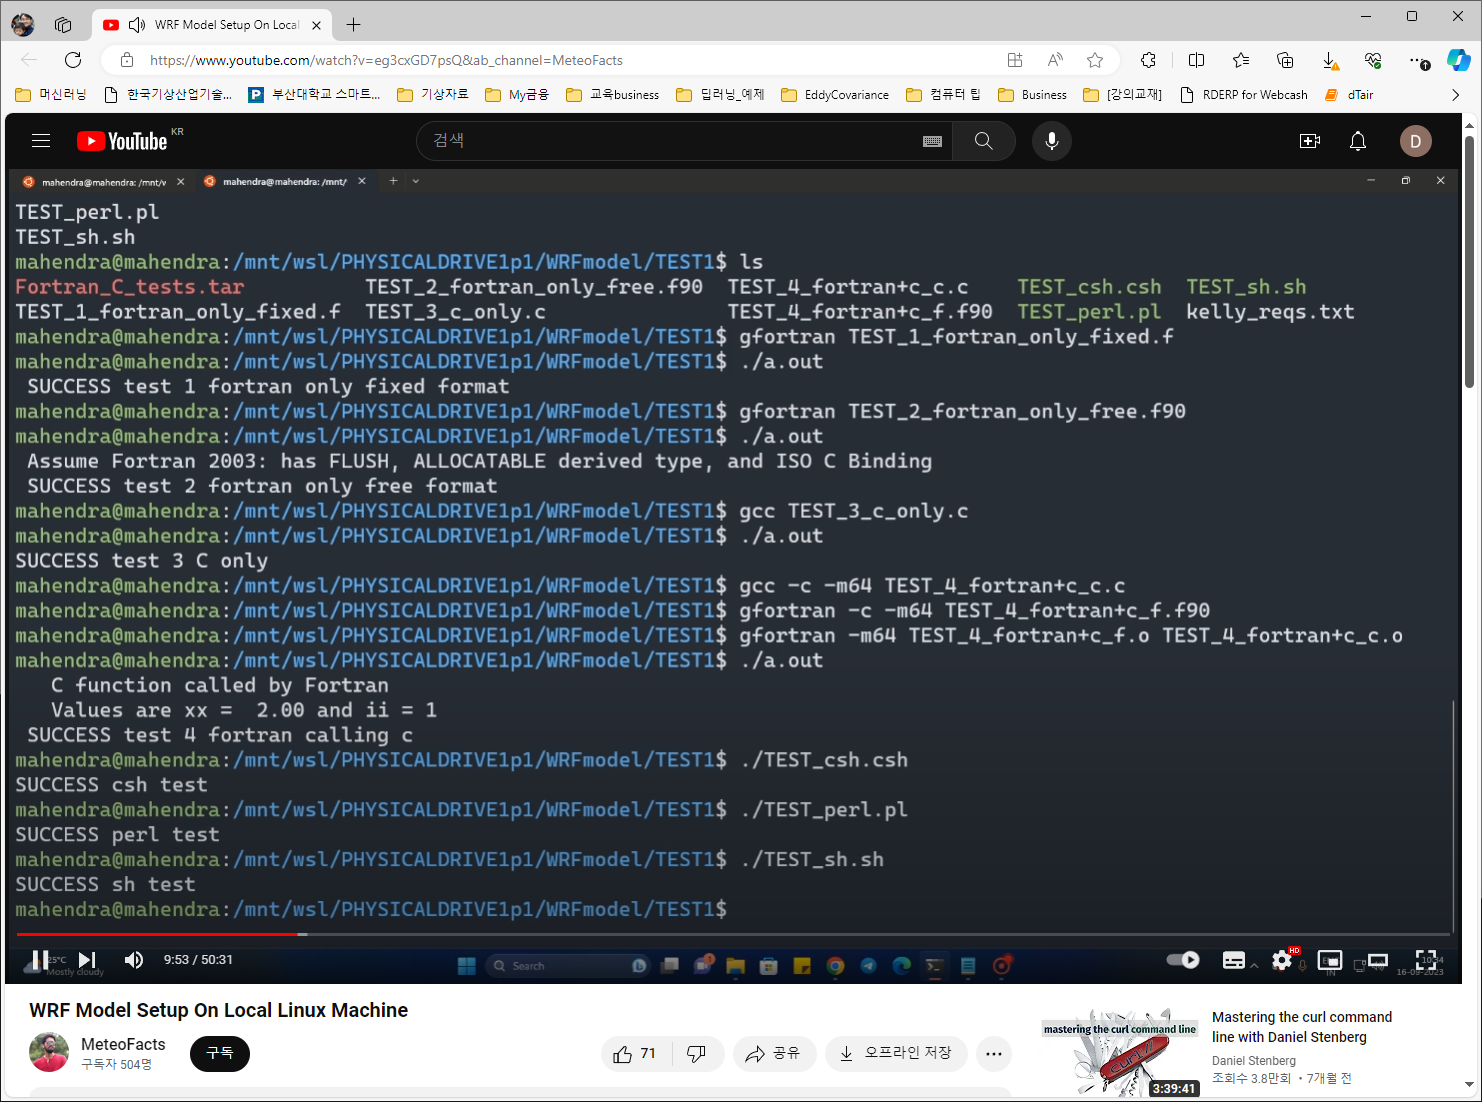
gfortran TEST_1_fortran_only_fixed.f
./a.out
gfortran TEST_2_fortran_only_free.f90
./a.out
gcc TEST_3_c_only.c
./a.out
gcc -c -m64 TEST_4_fortran+c_c.c
gfortran -c -m64 TEST_4_fortran+c_f.f90
gfortran -m64 TEST_4_fortran+c_f.o TEST_4_fortran+c_c.o
./a.out
./TEST_csh.csh --> if error, install csh with "sudo apt install csh"
./TEST_perl.pl
./TEST_sh.sh

l

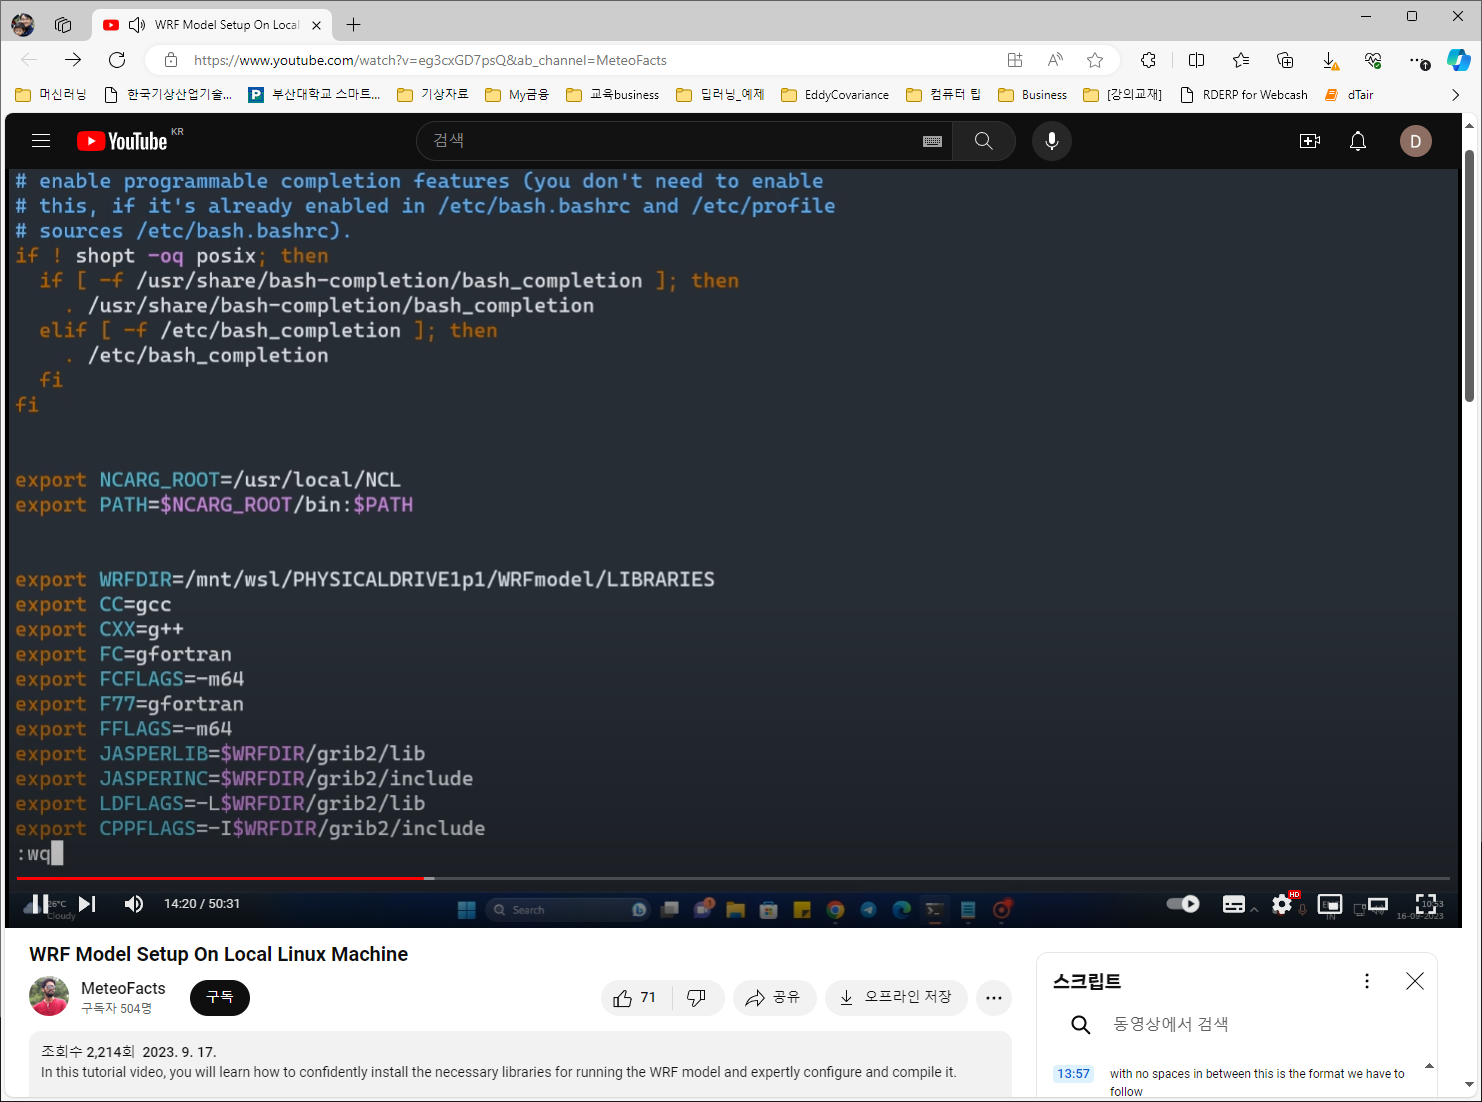
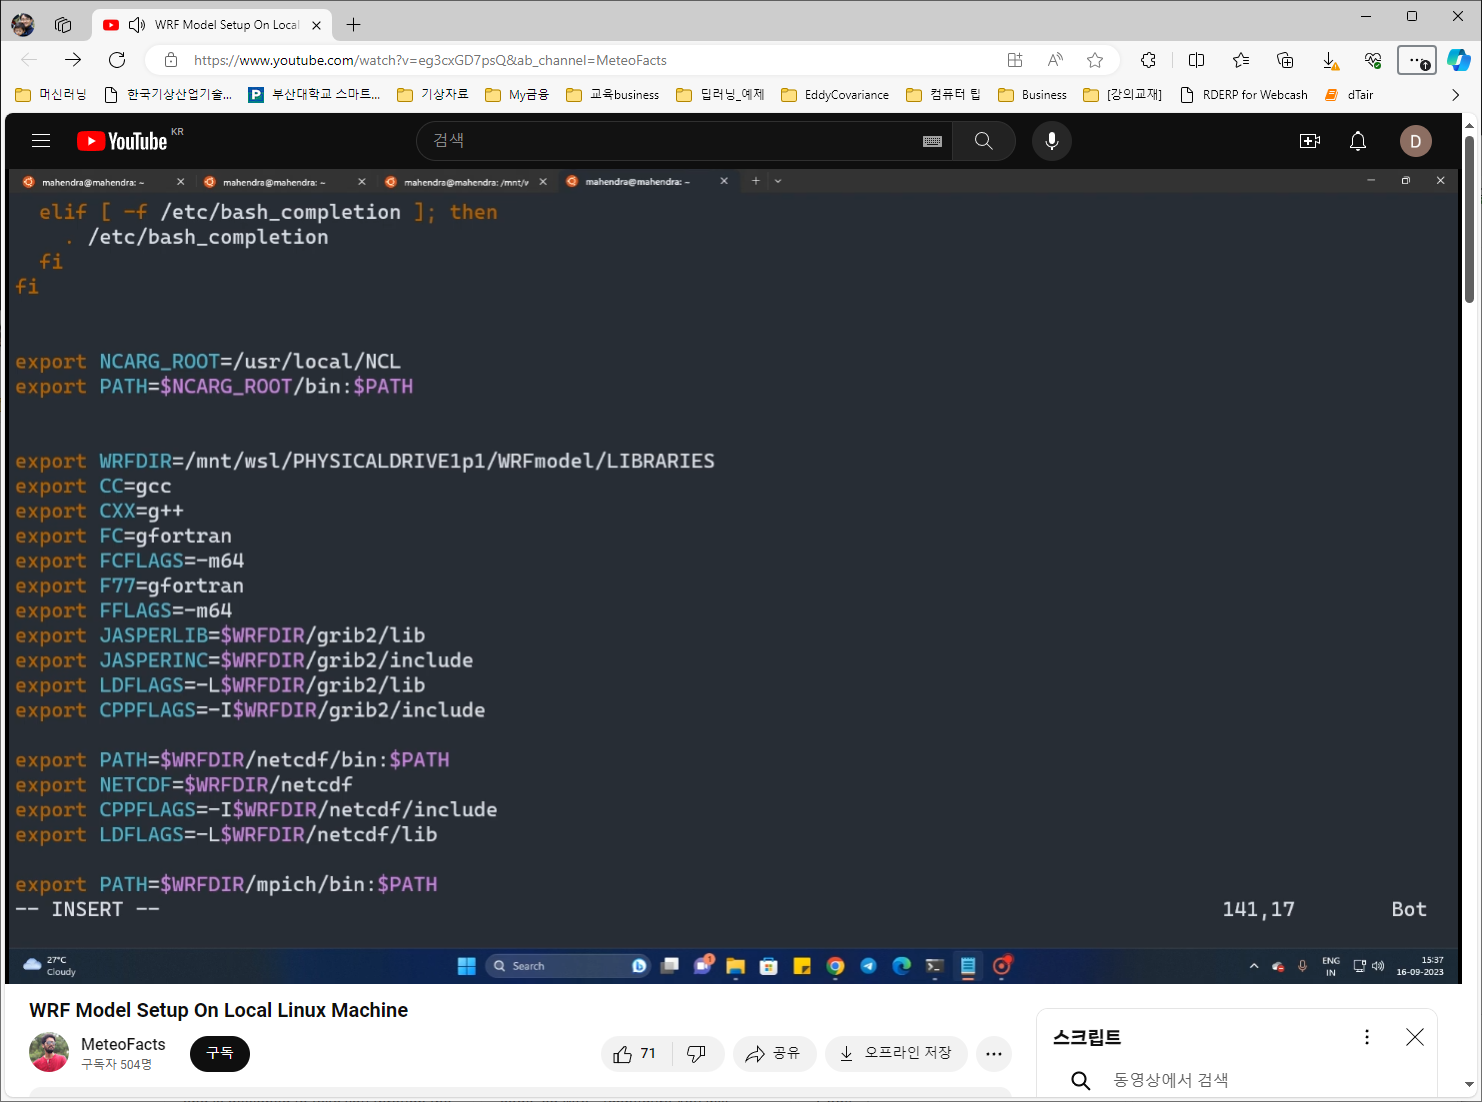
ubuntu 일 경우, 아래와 같이 .bashrc 에서 setenv 를 export 로 바꾼다.
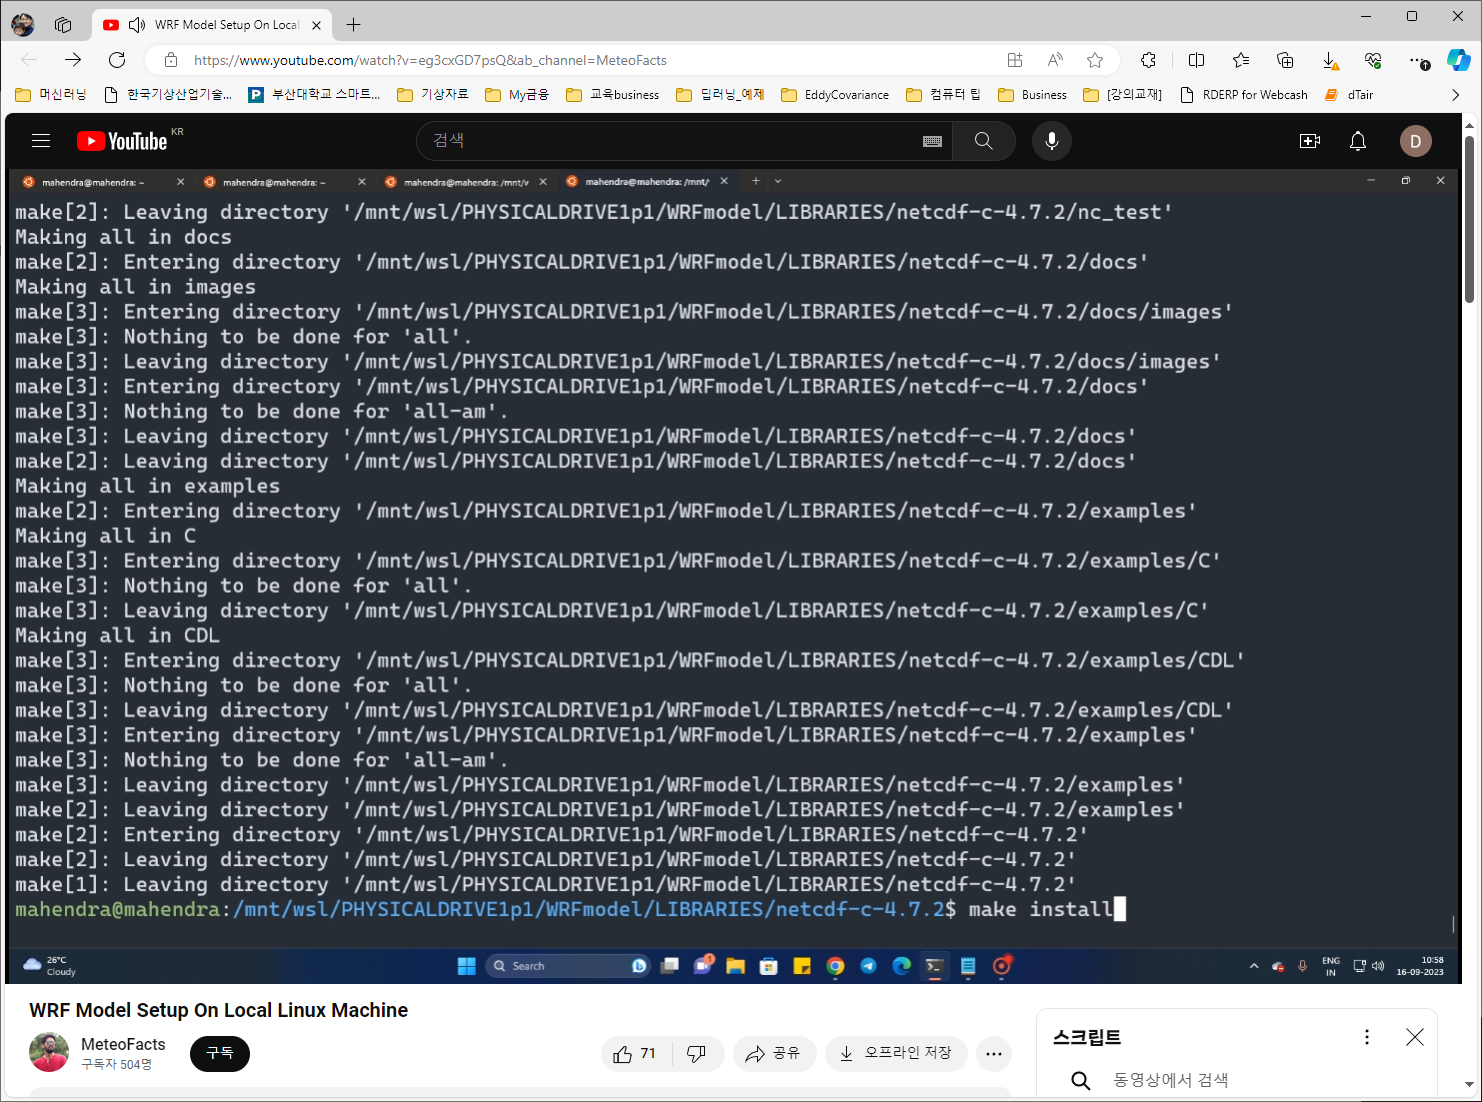
3. netcdf C 설치
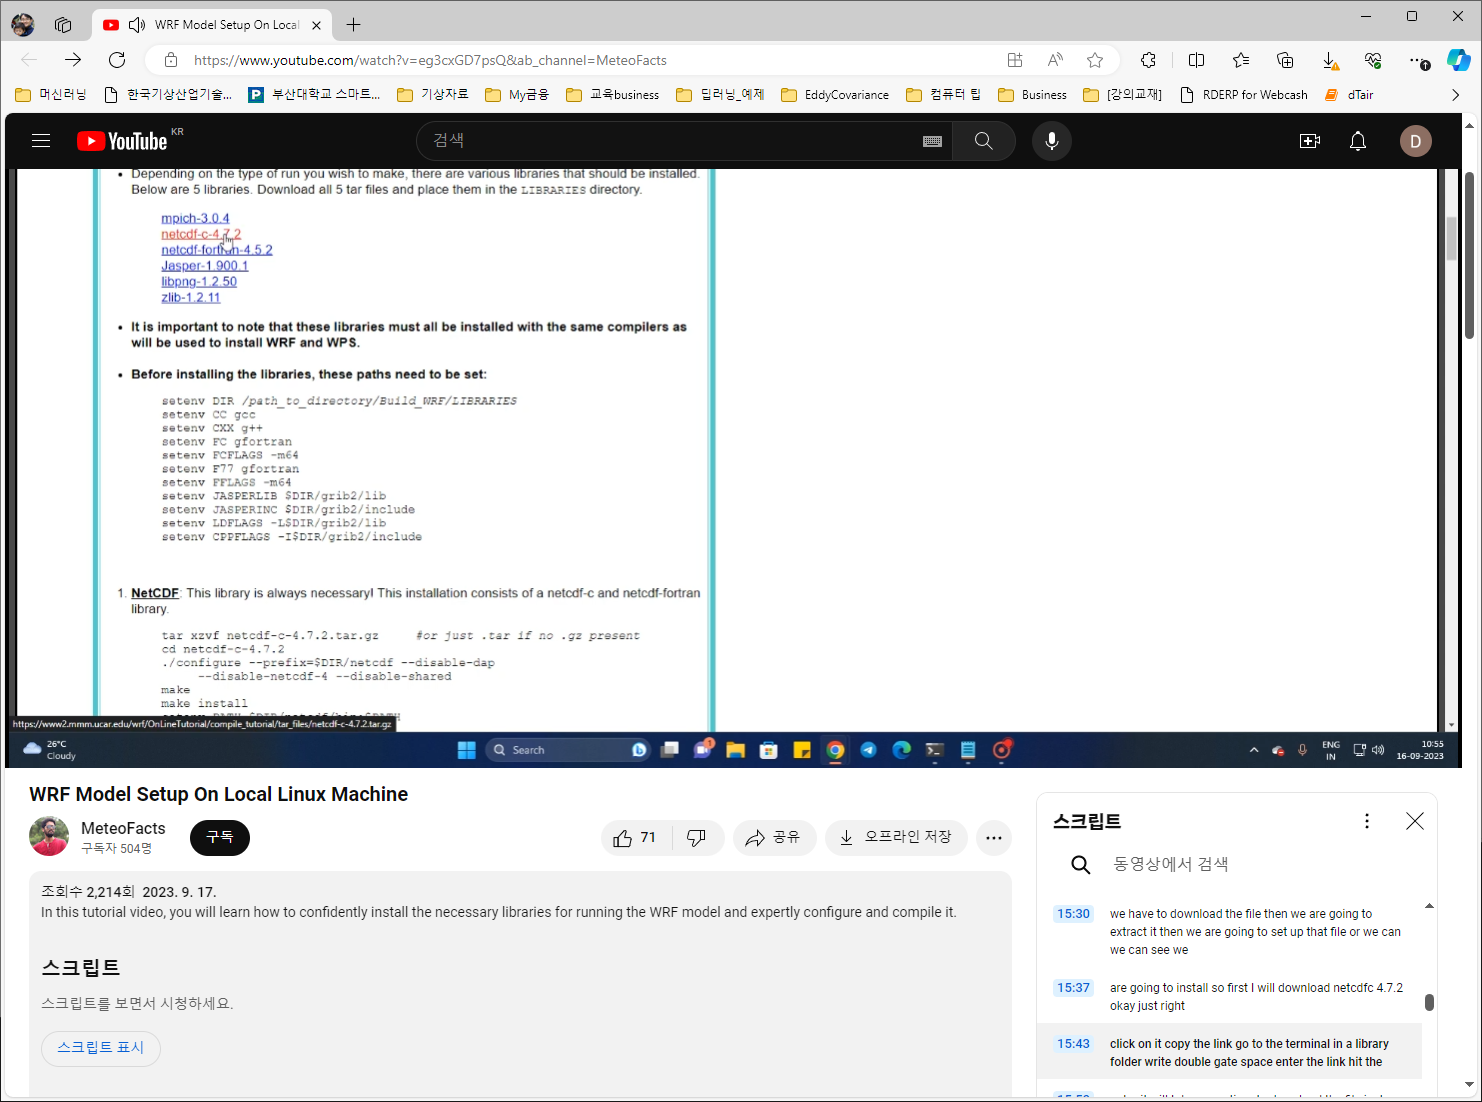

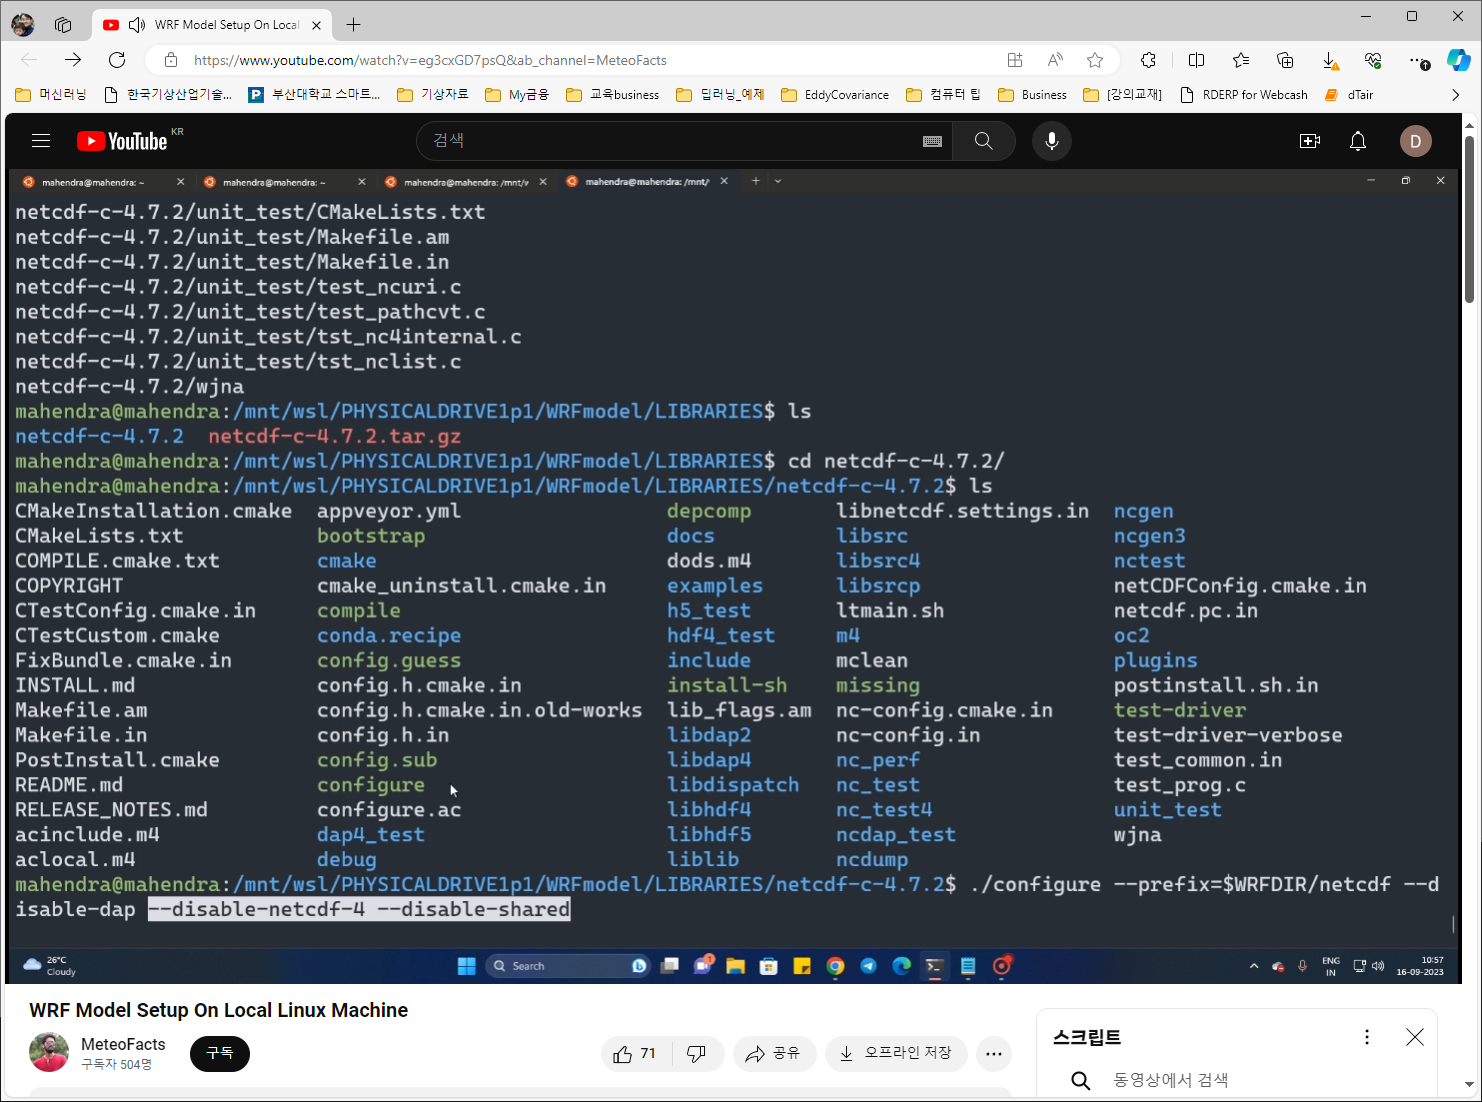
./configure --prefix=$WRFDIR/netcdf --disable-dap --disable-netcdf-4 --disable-shared
error: Cannot find m4 utility. Install m4 and try again. --> $ sudo apt-get install m4
onfig.status: error: Something went wrong bootstrapping makefile fragments
for automatic dependency tracking. Try re-running configure with the
'--disable-dependency-tracking' option to at least be able to build
the package (albeit without support for automatic dependency tracking).
See `config.log' for more details
Just install make first then try again.


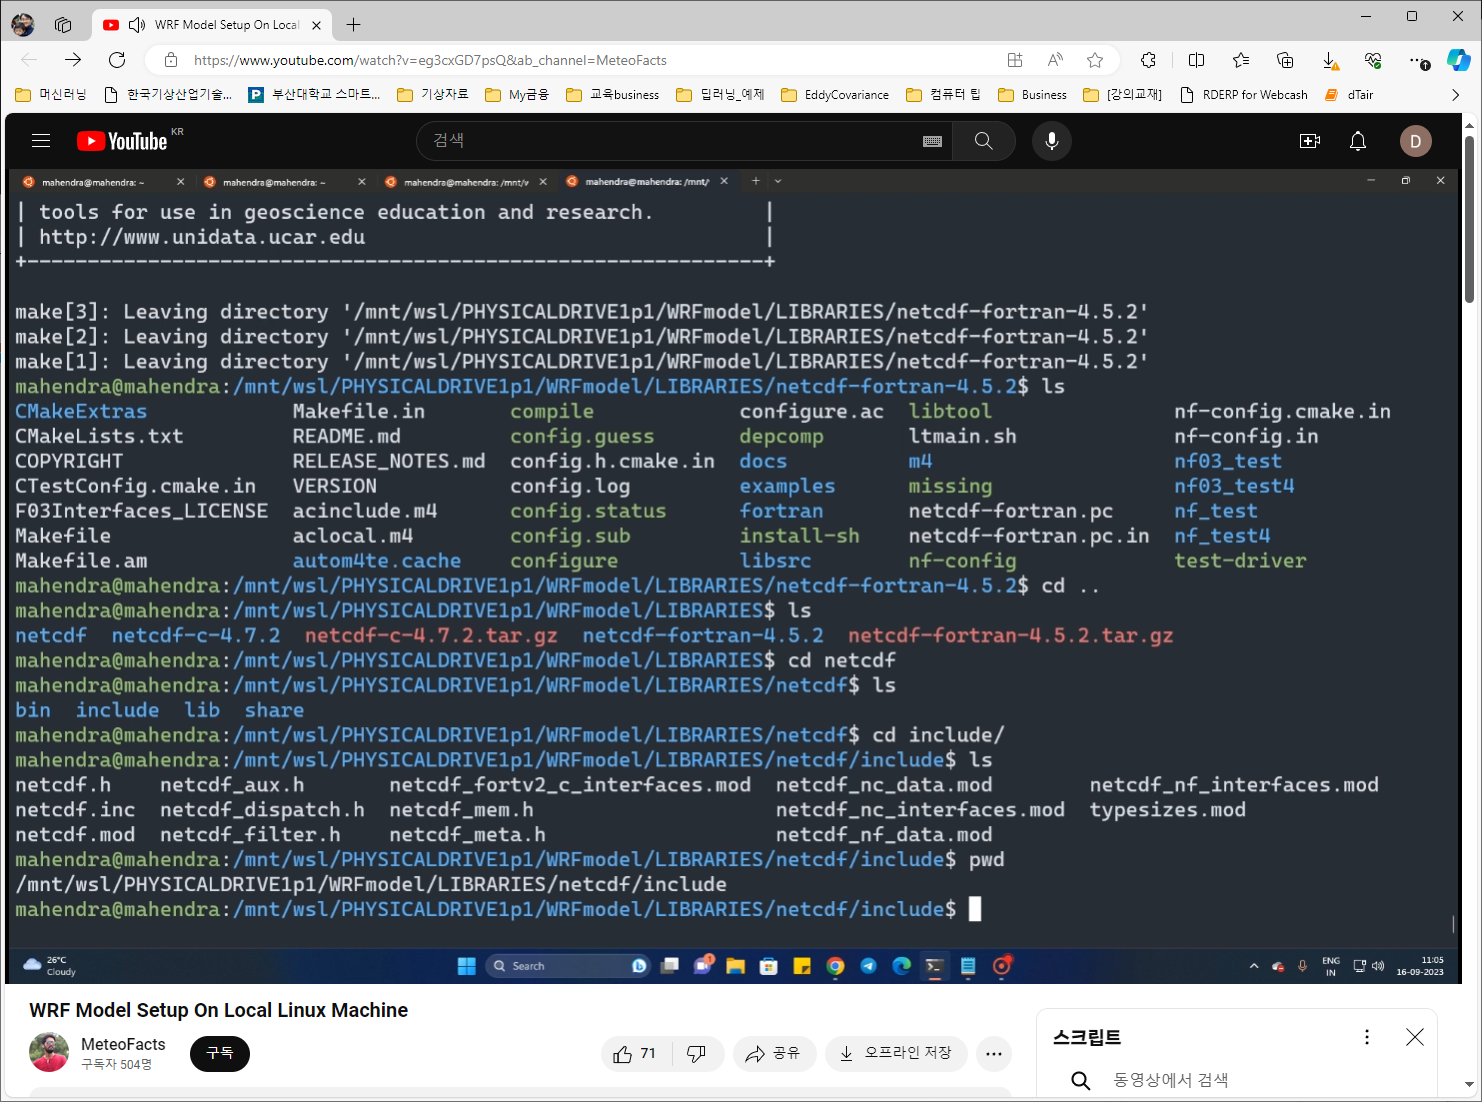
confirm the files in ../netcdf
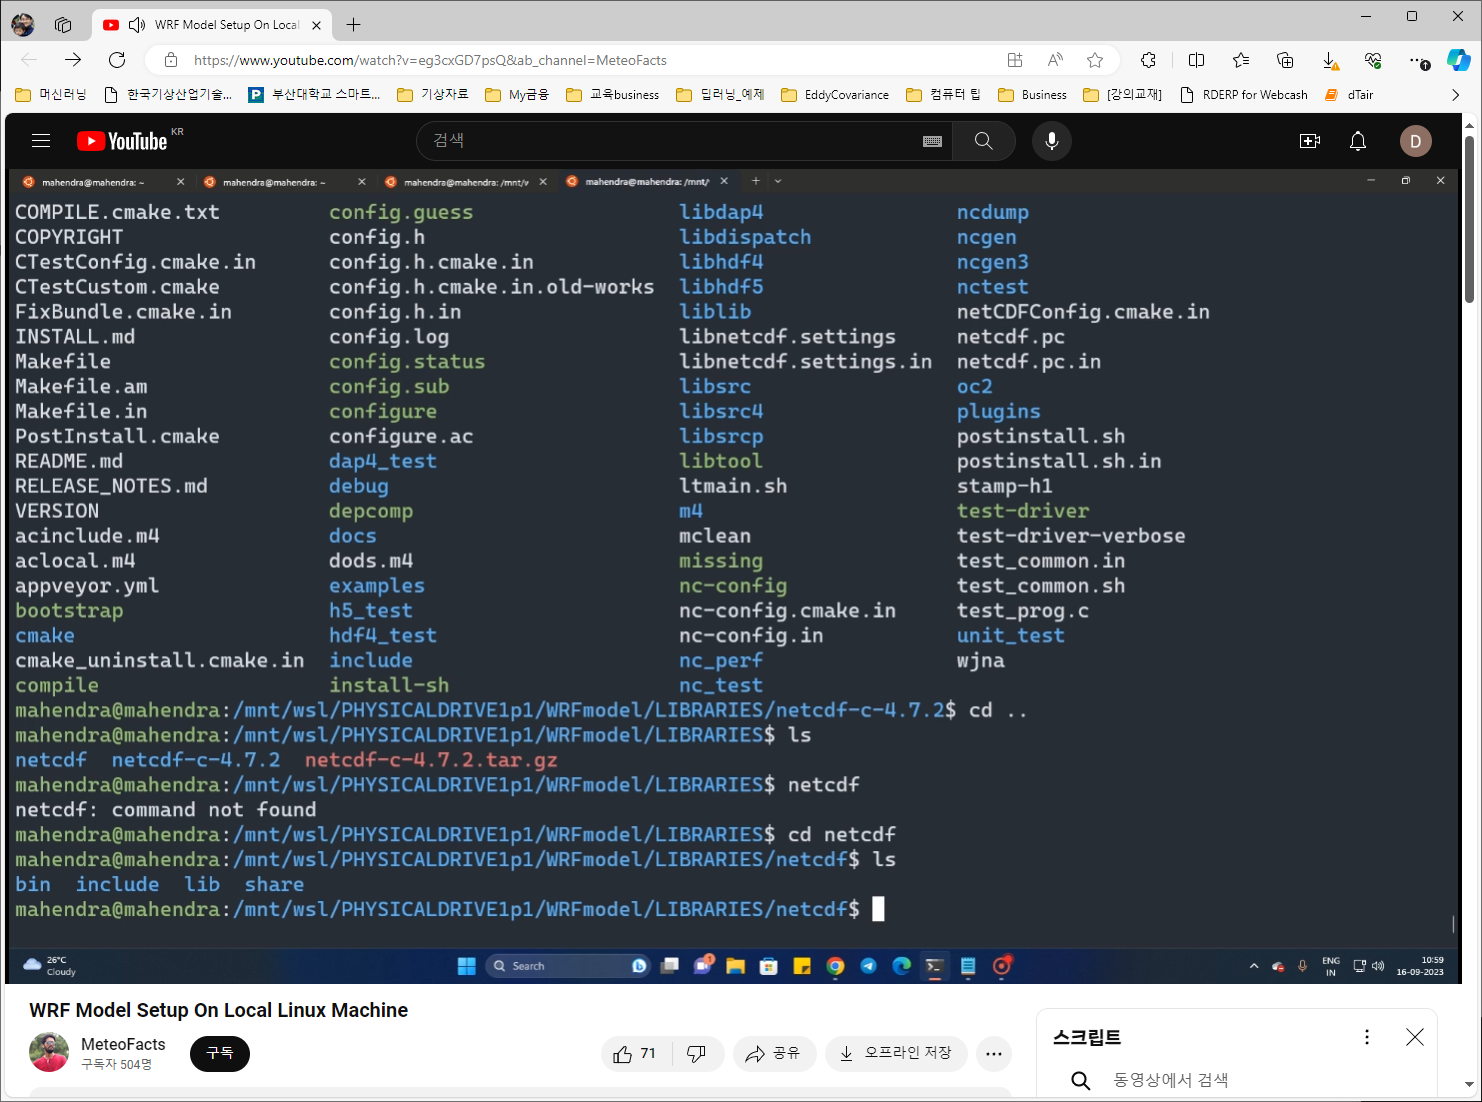
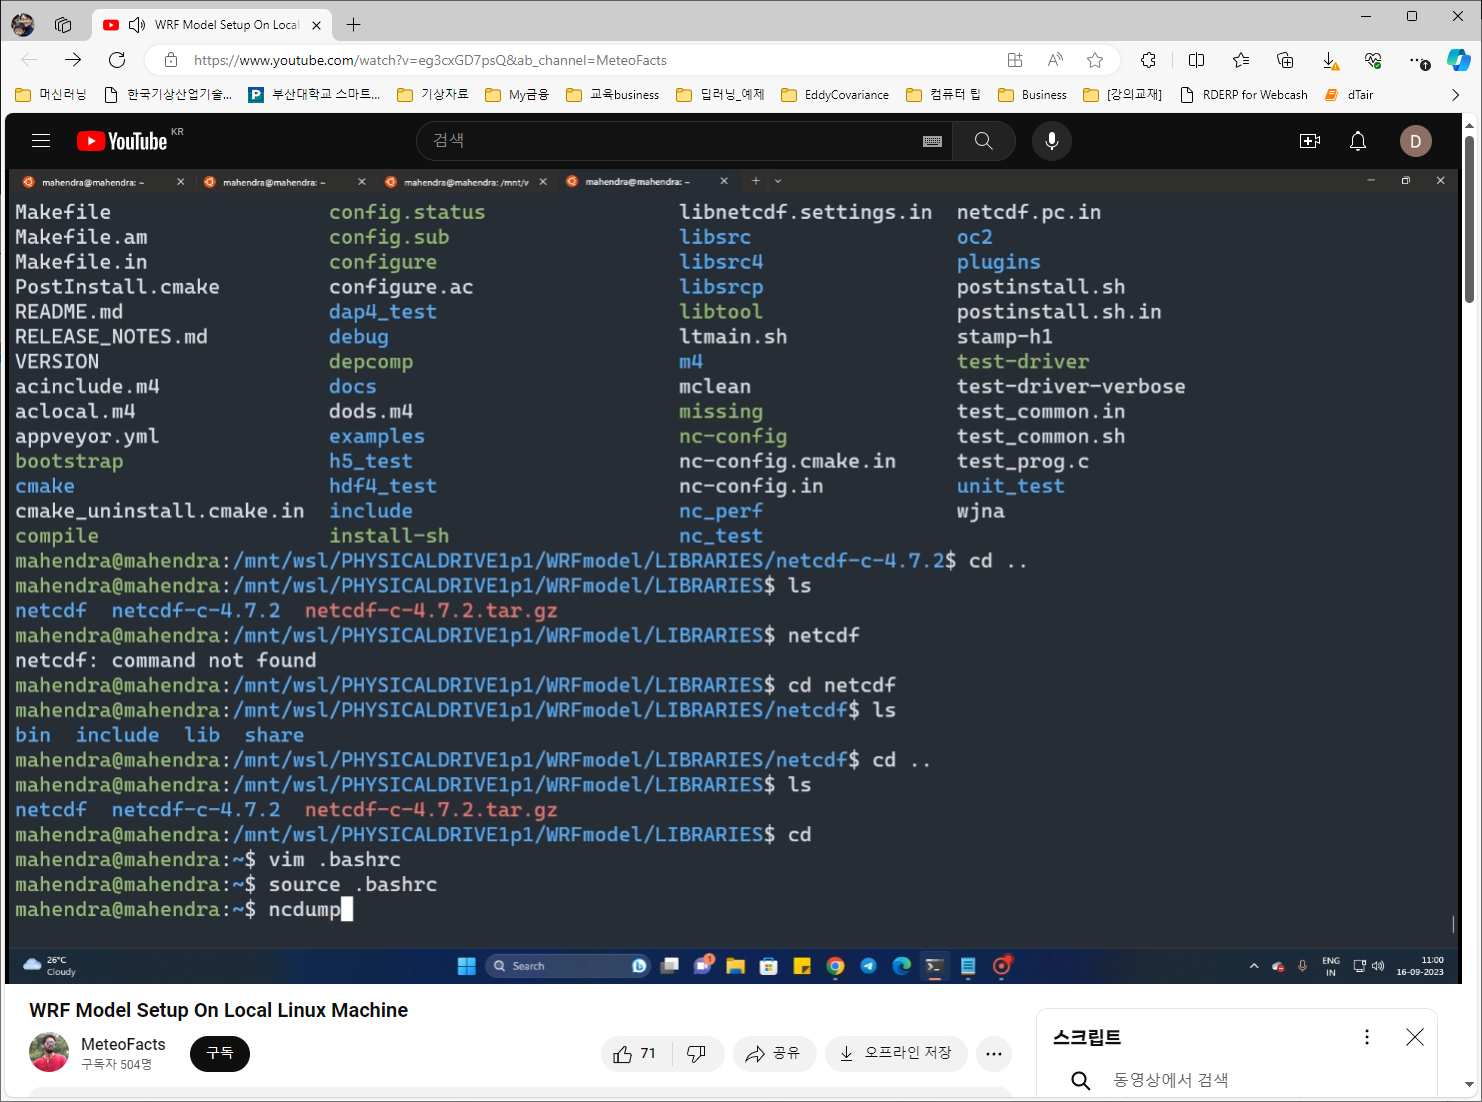
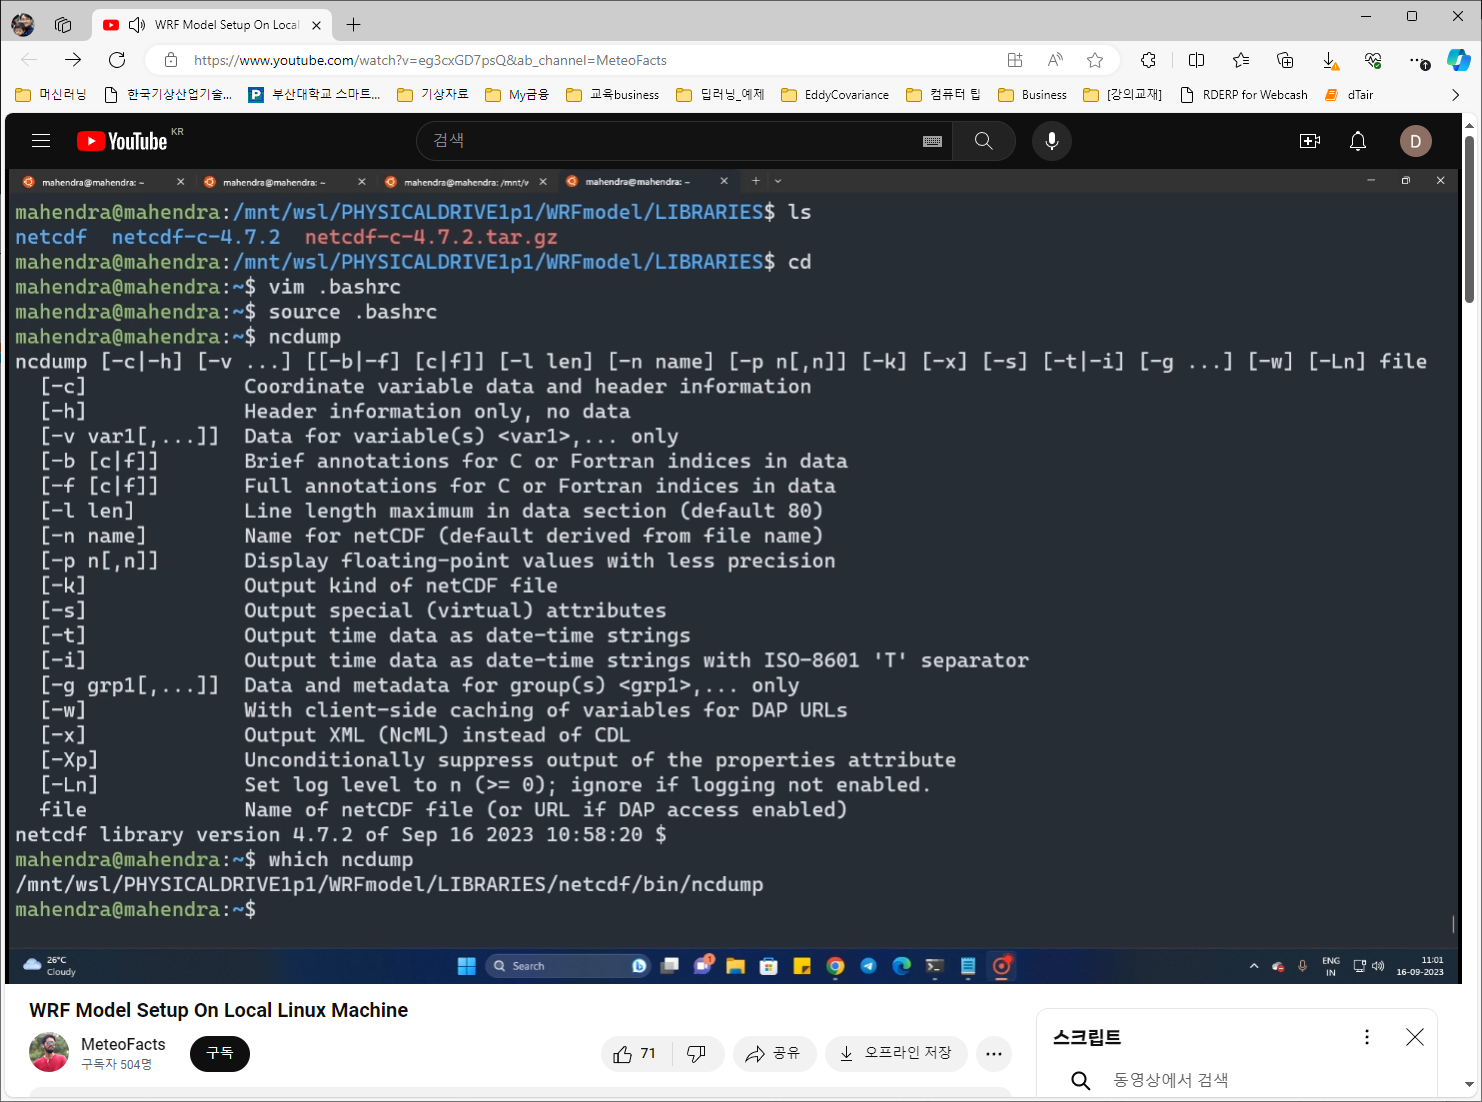
여기서 vim .bashrc

4. netcdf Fortran 설치

make
make install
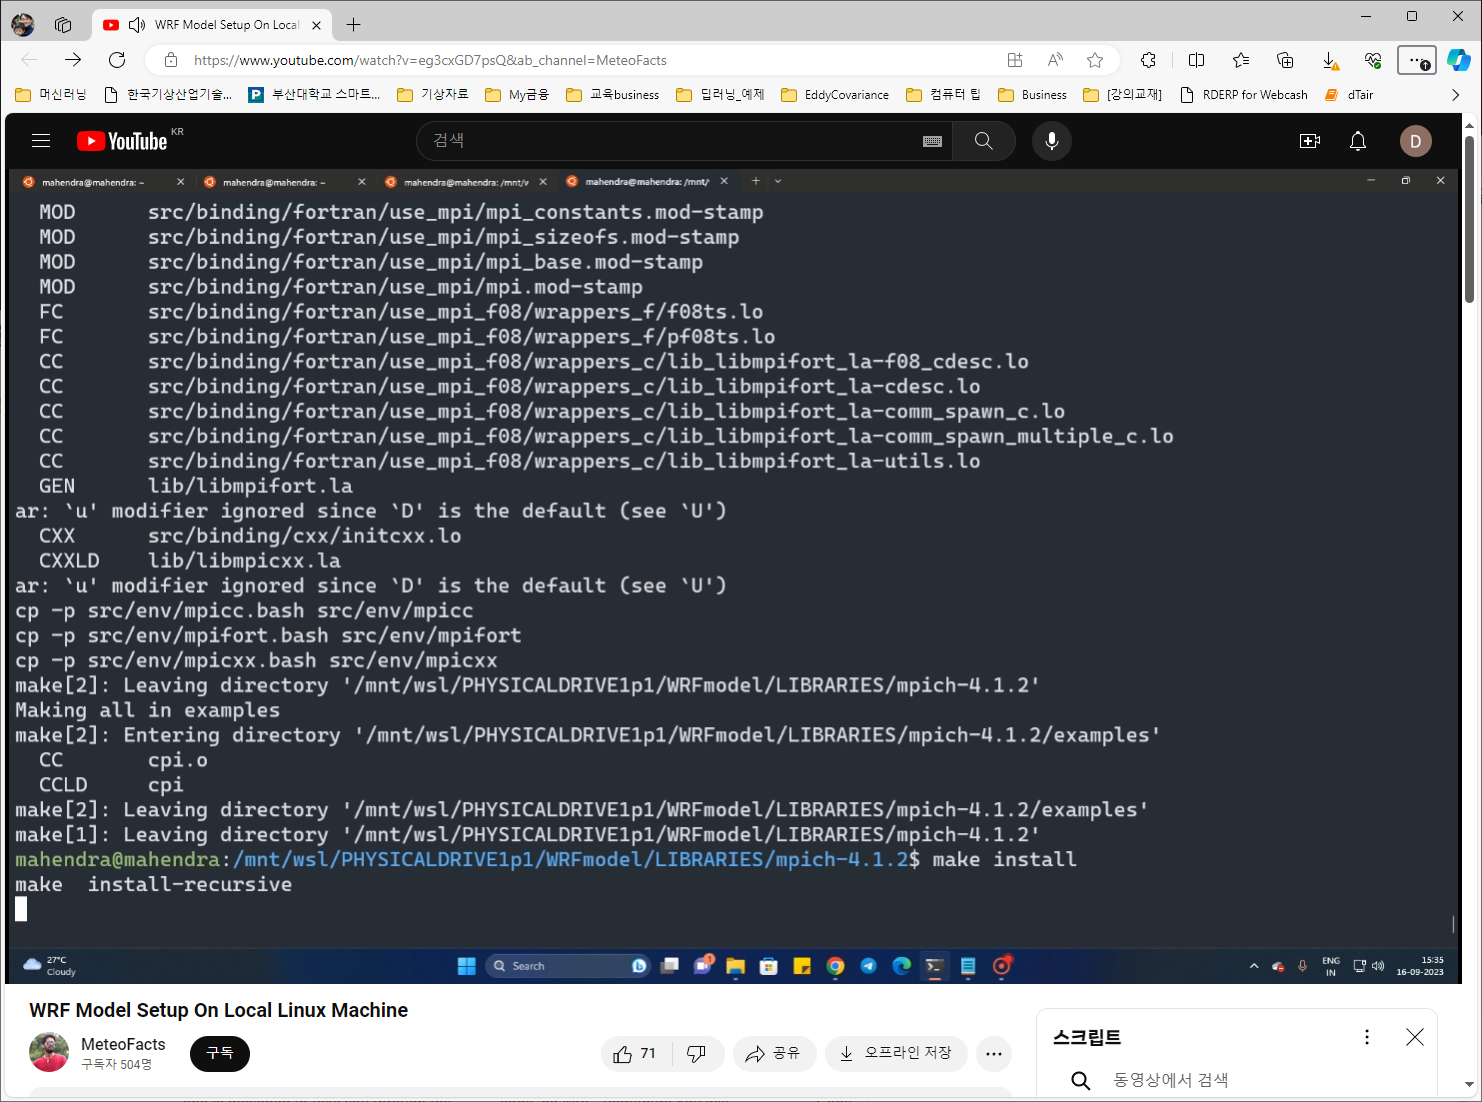
5. MPICH 설치
mpich 홈피에서 직접 다운 받기를 추천.
mmm.ucar.edu 홈피 버전은 버그가 있어 설치하기 힘들다.

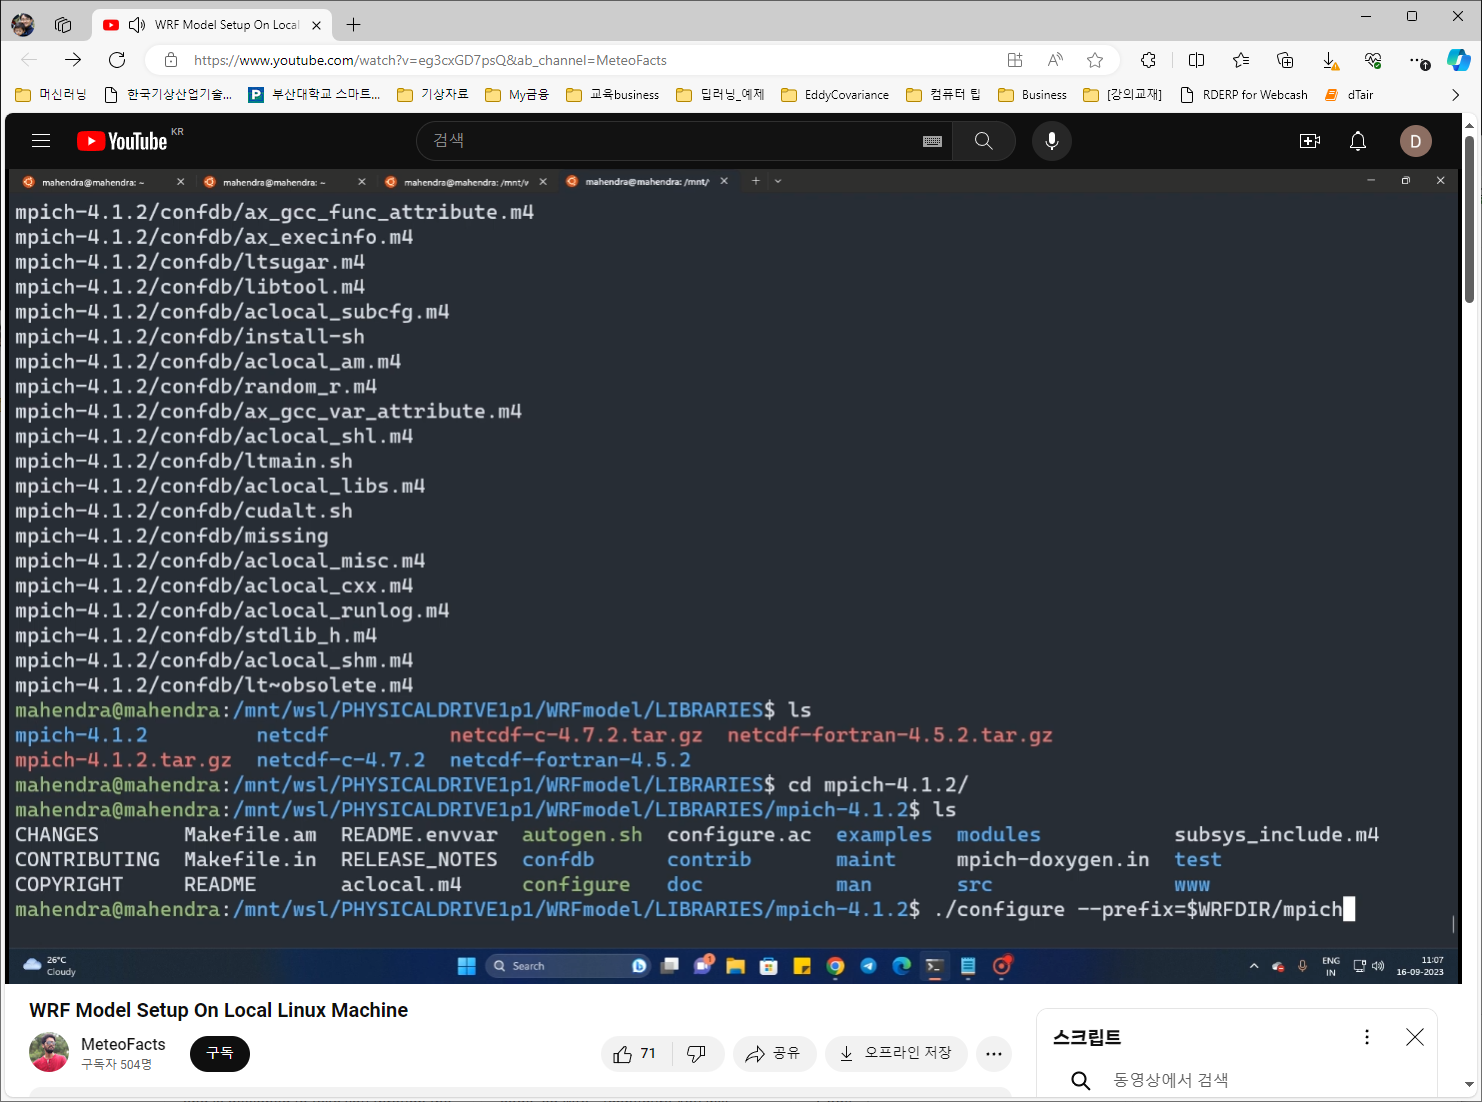
./configure에 다른 옵션 붙이지 말 것.

if error on ./configure,
configure: error: Aborting because C++ compiler does not work. If you do not need a C++ compiler, configure with --disable-cxx
install gcc again: $ sudo apt-get install g++
Although same version will be installed, it worked.
'make' takes too long !!! More than an hour.

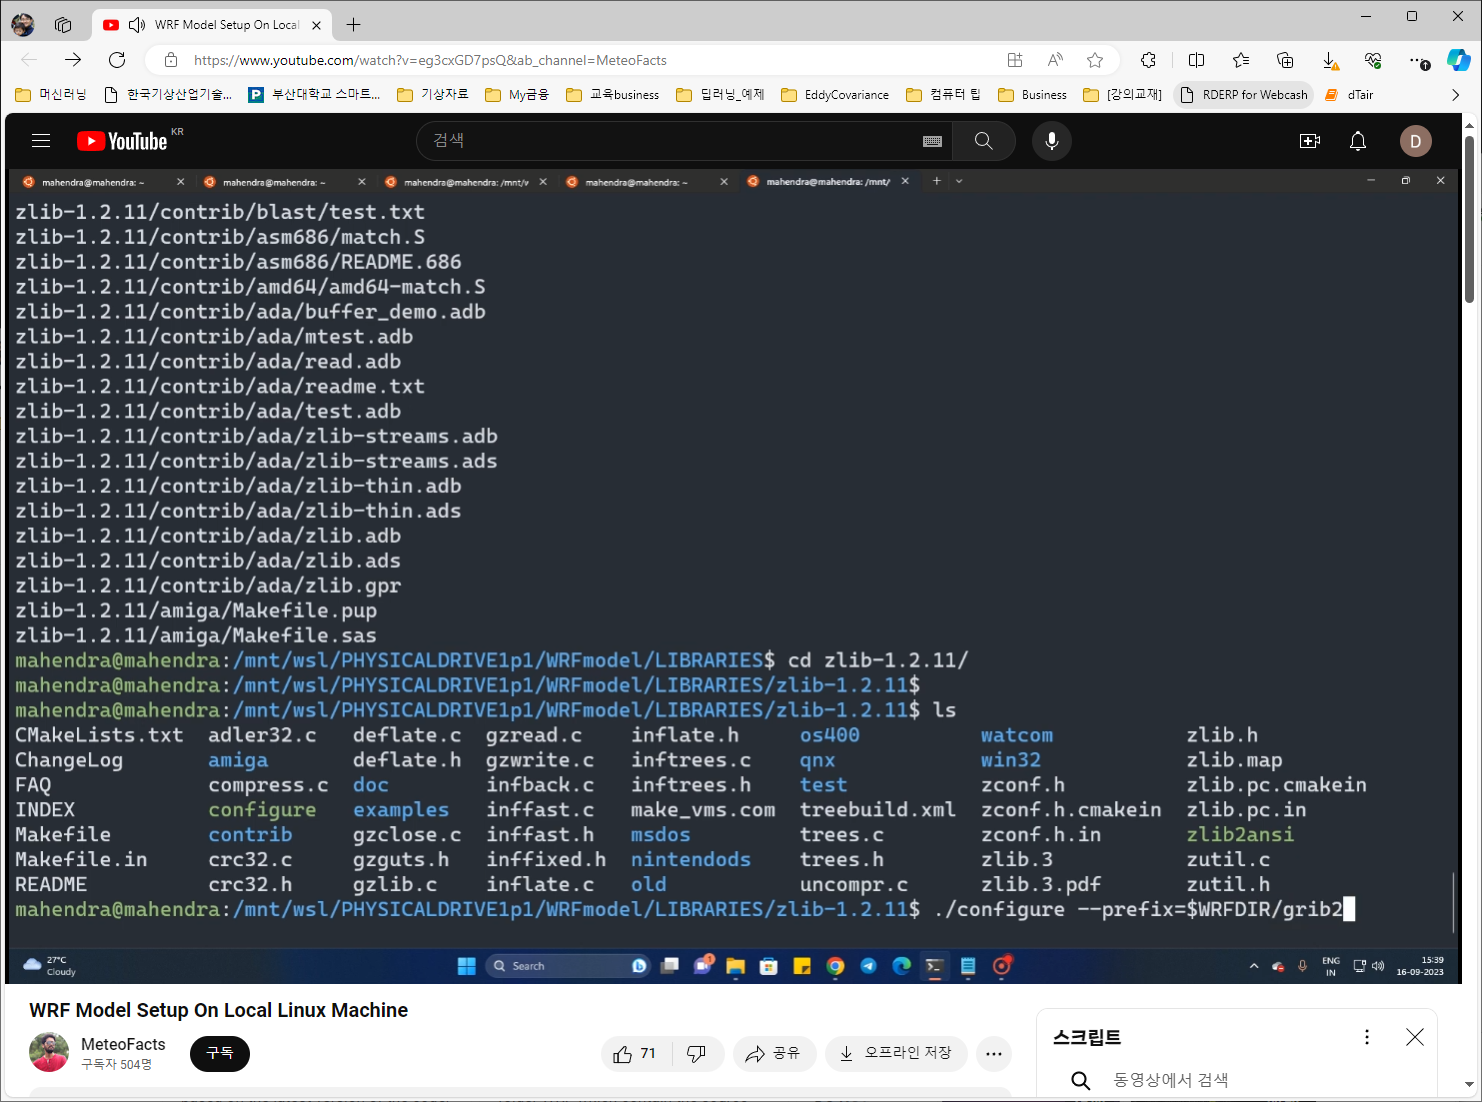
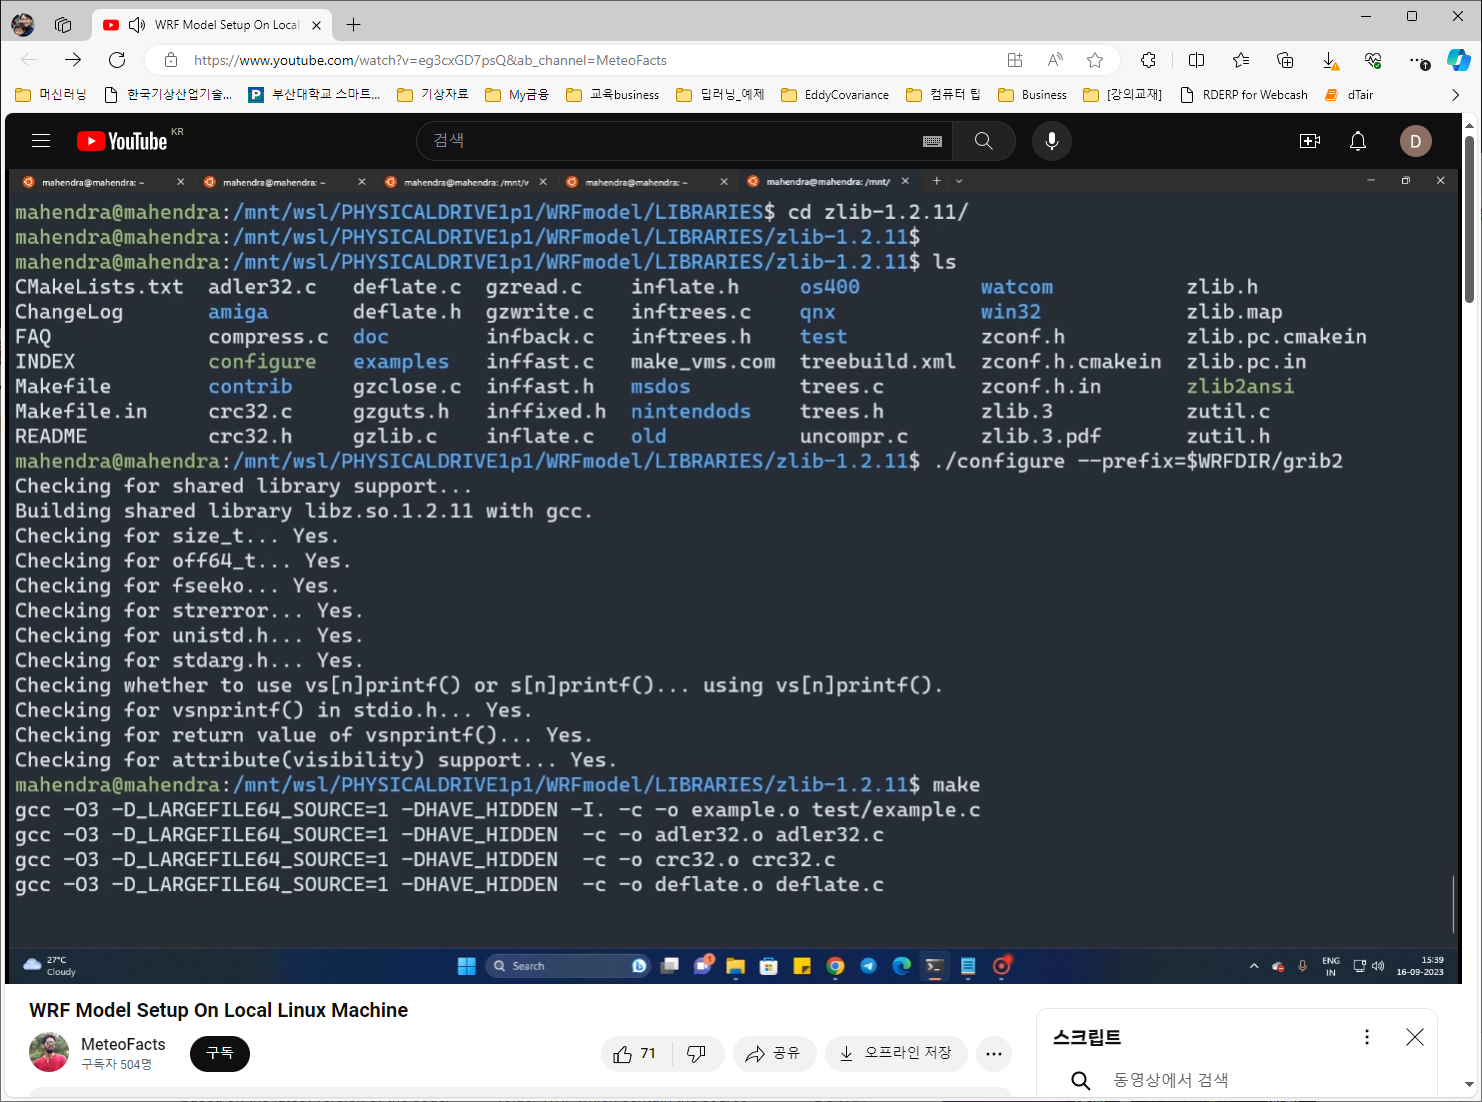
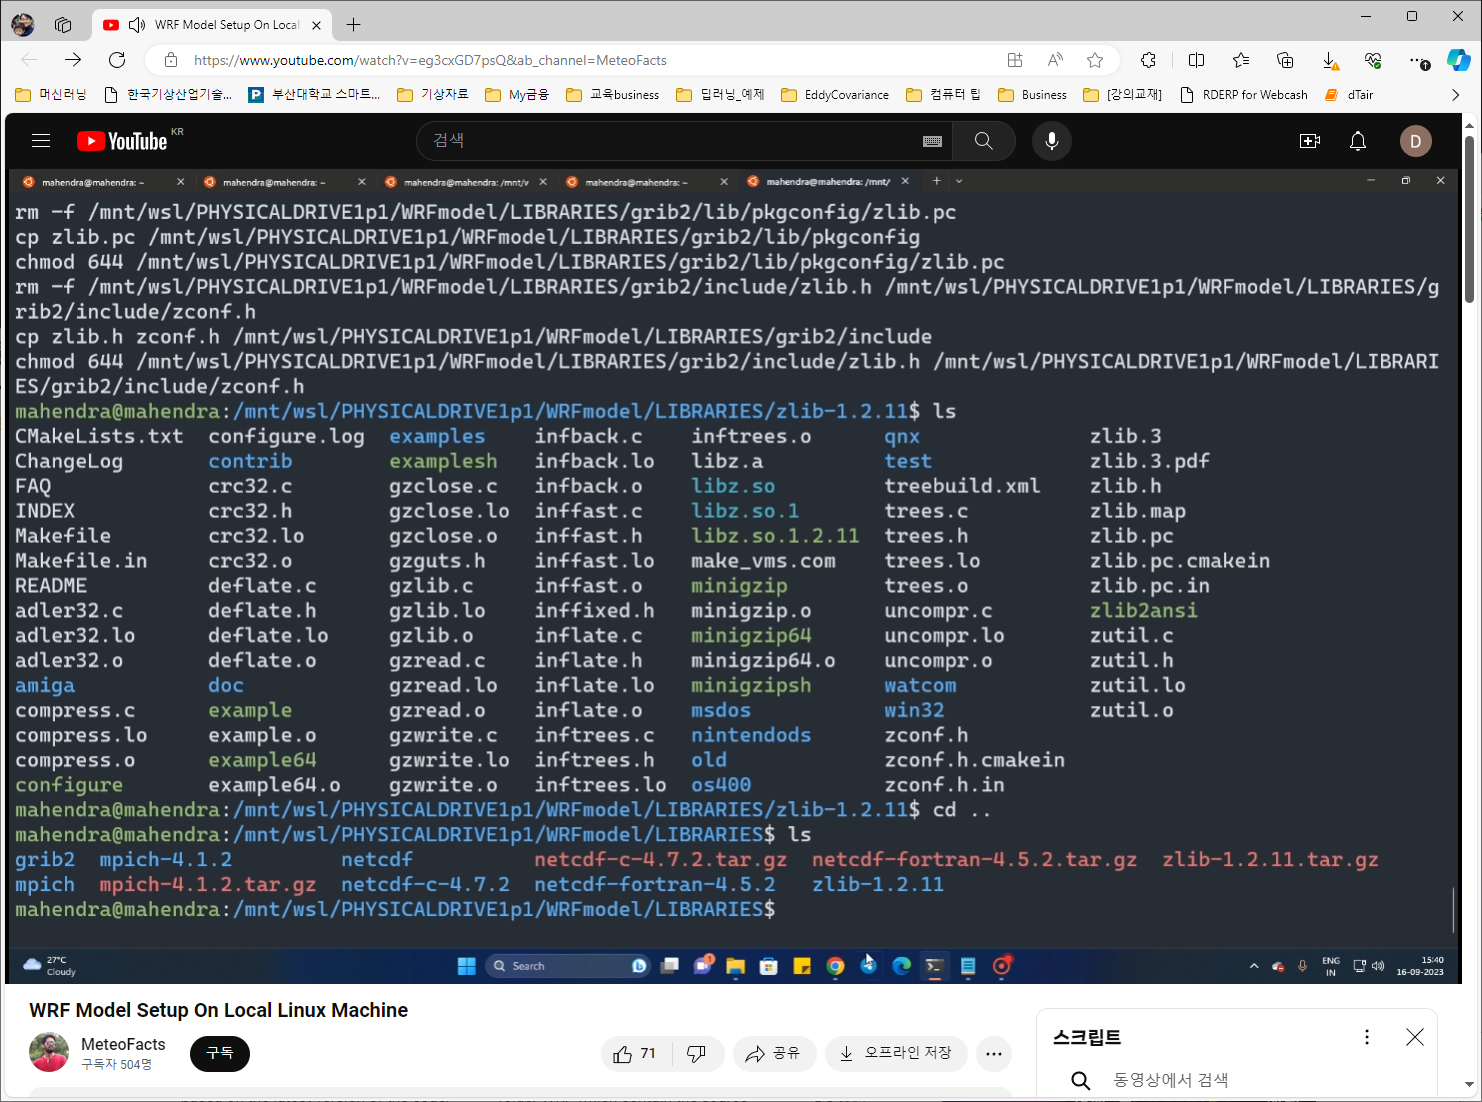
6. zlib 설치
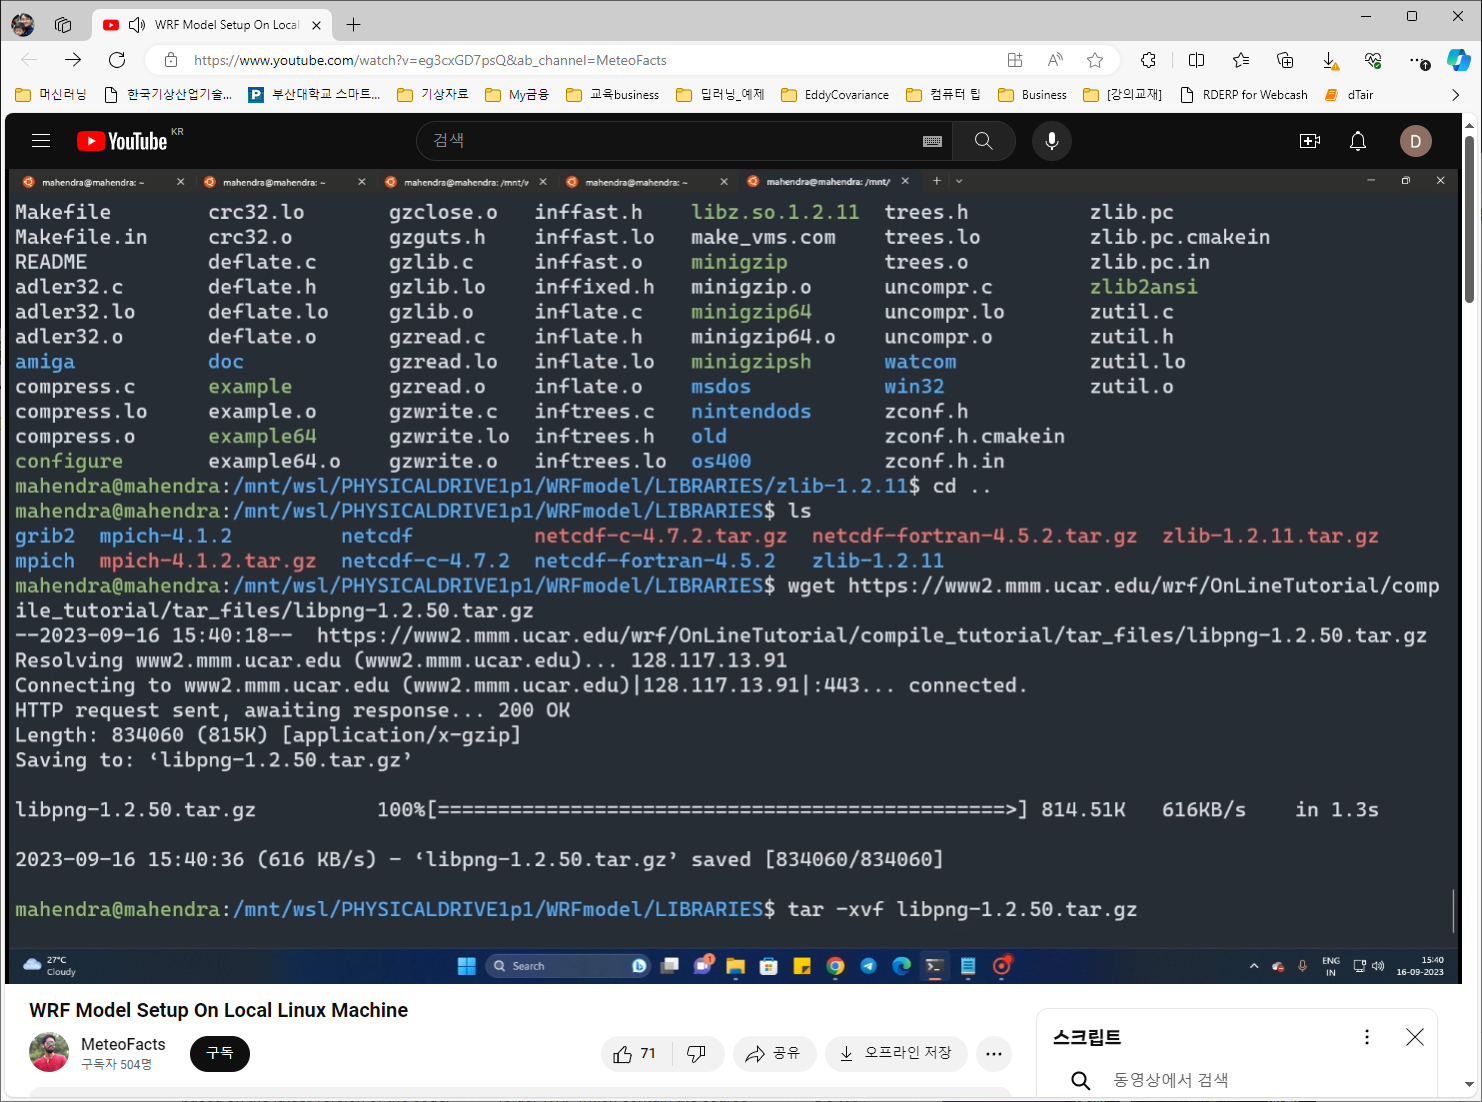
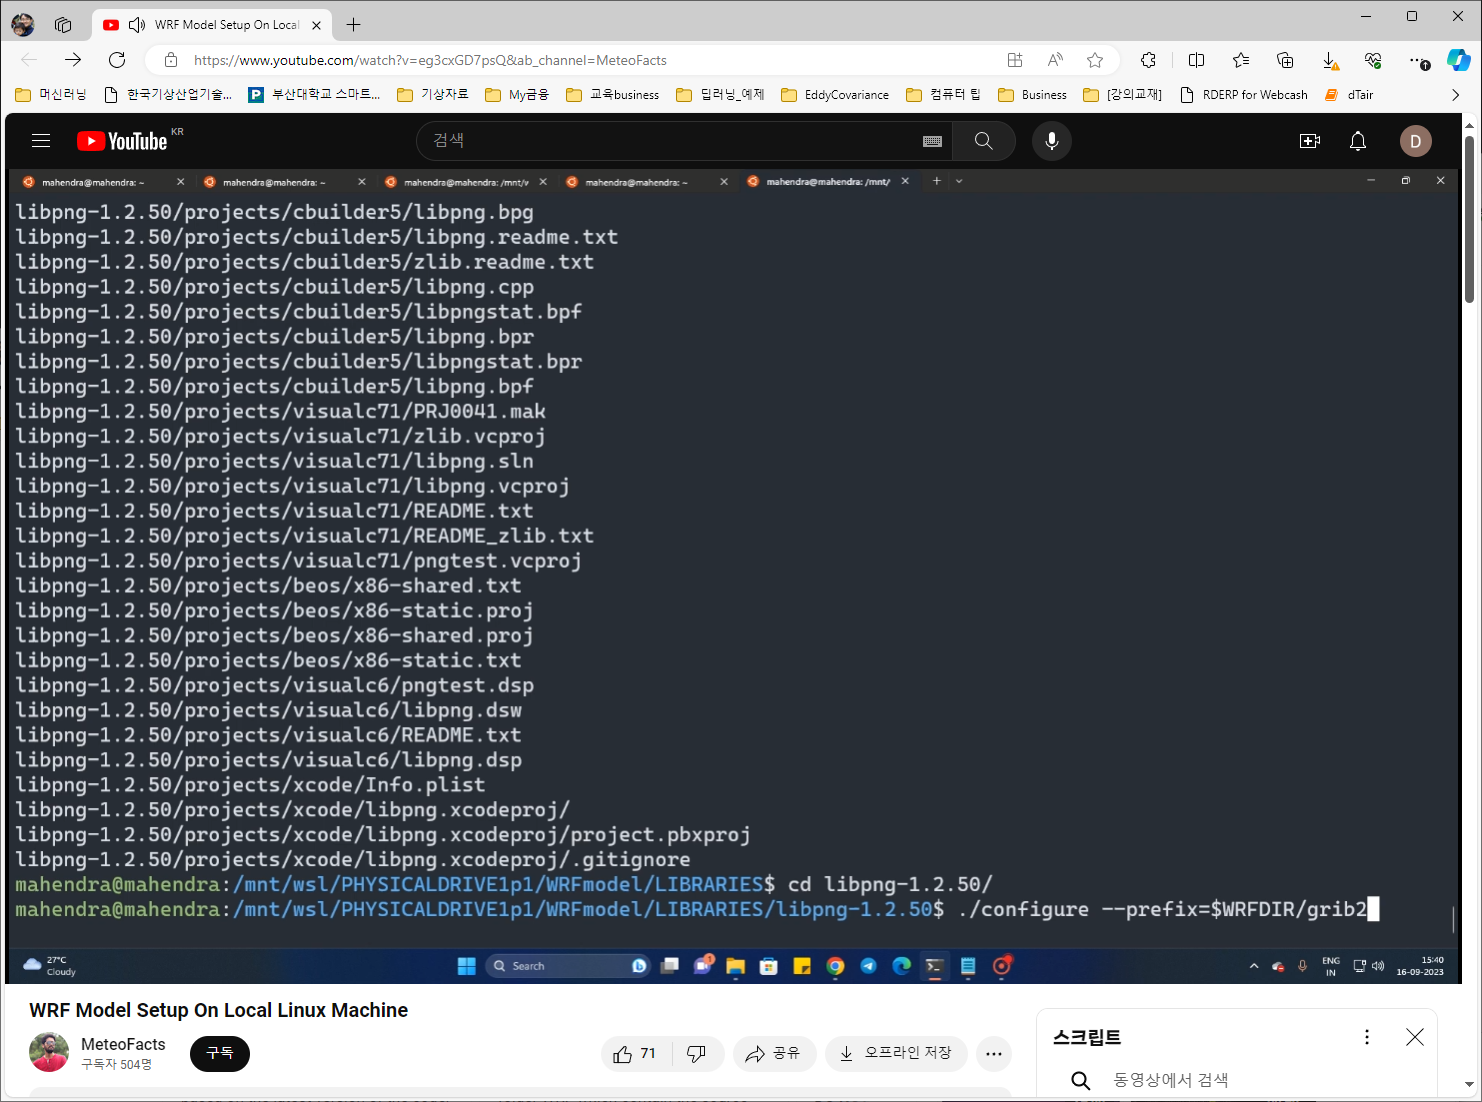
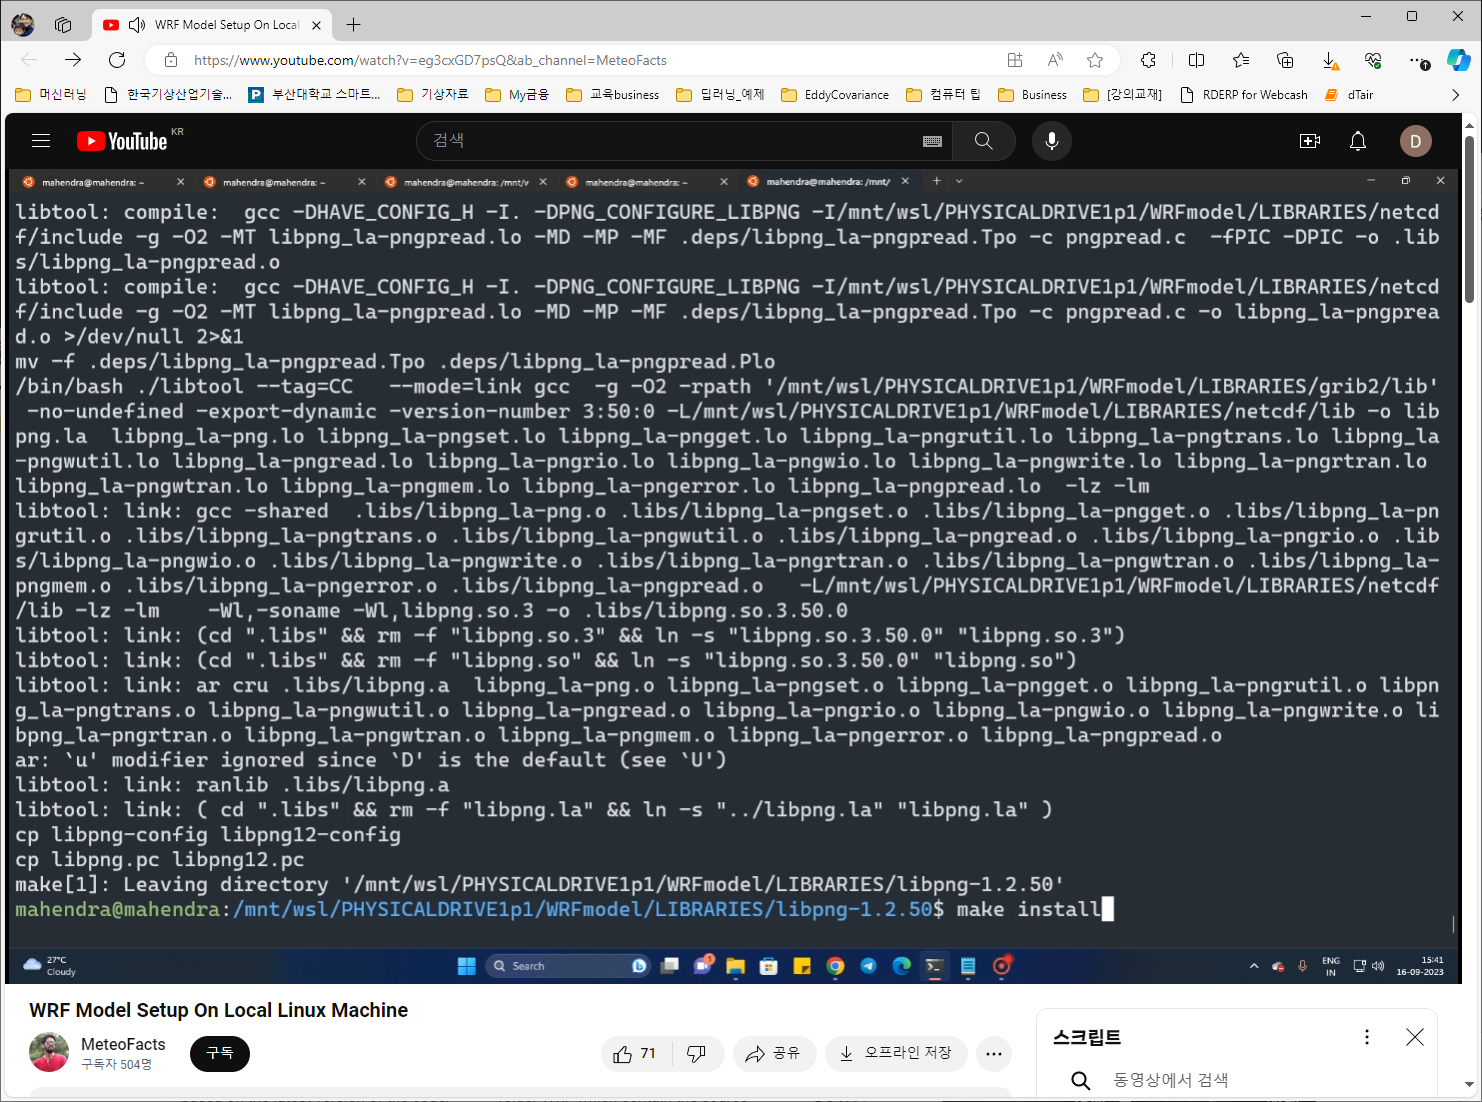
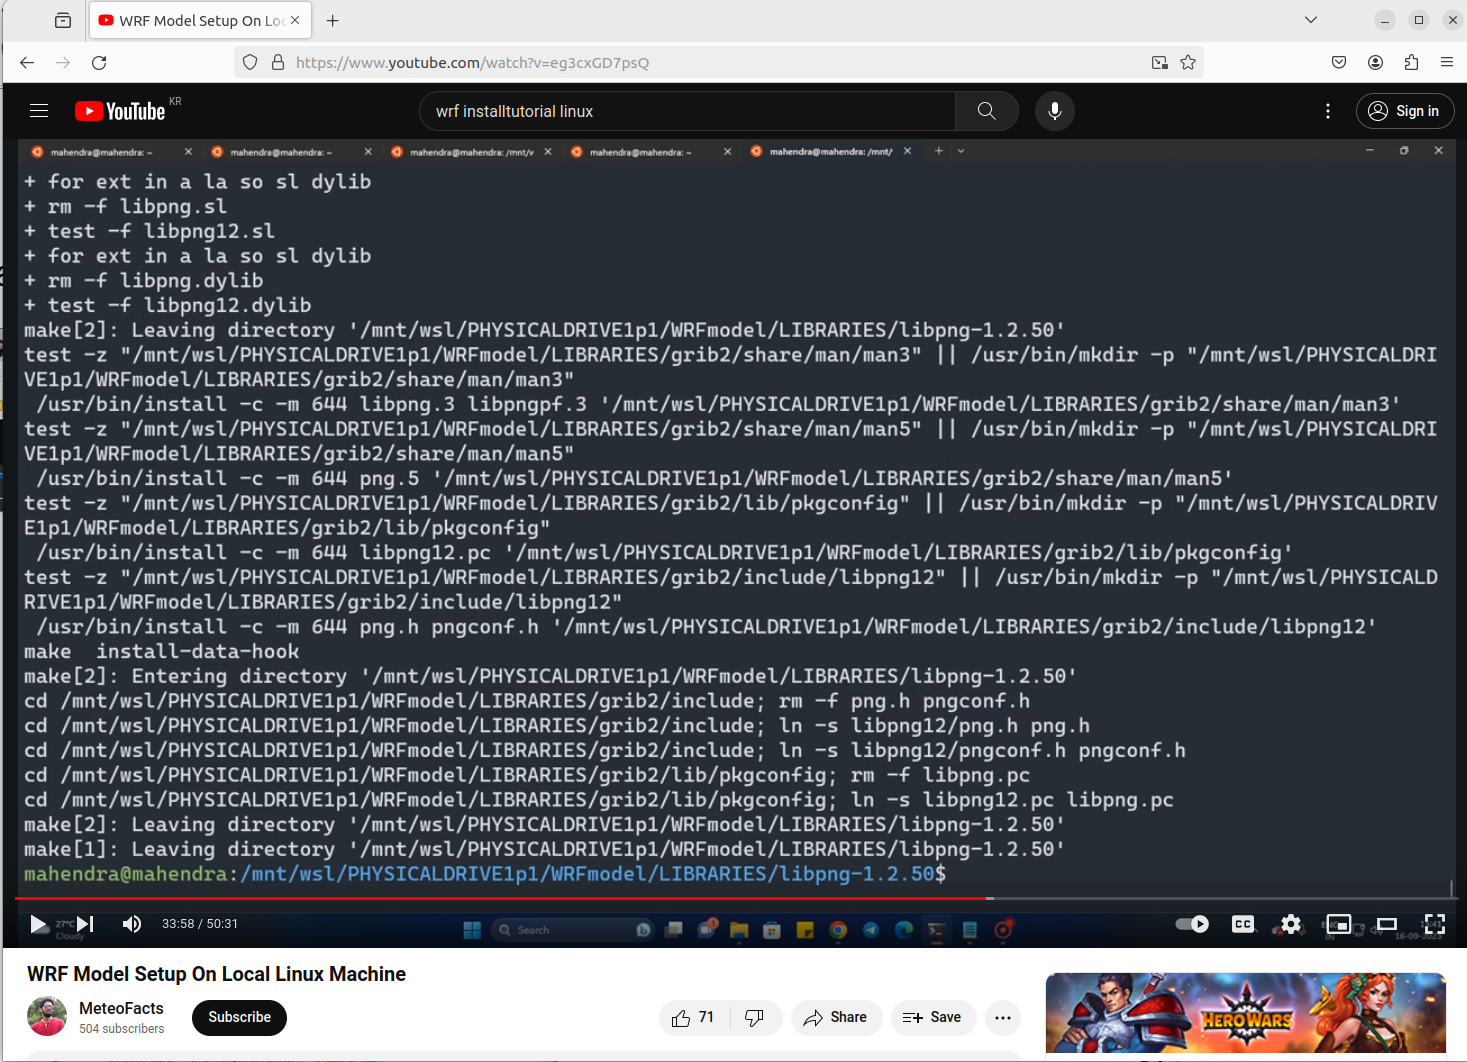
7. libpng 설치
if errror at the end of configuration:
checking for zlibVersion in -lz... no
configure: error: zlib not installed
just do :
sudo apt-get install zlib1g-dev
then run configure again. !

8.Jasper 설치


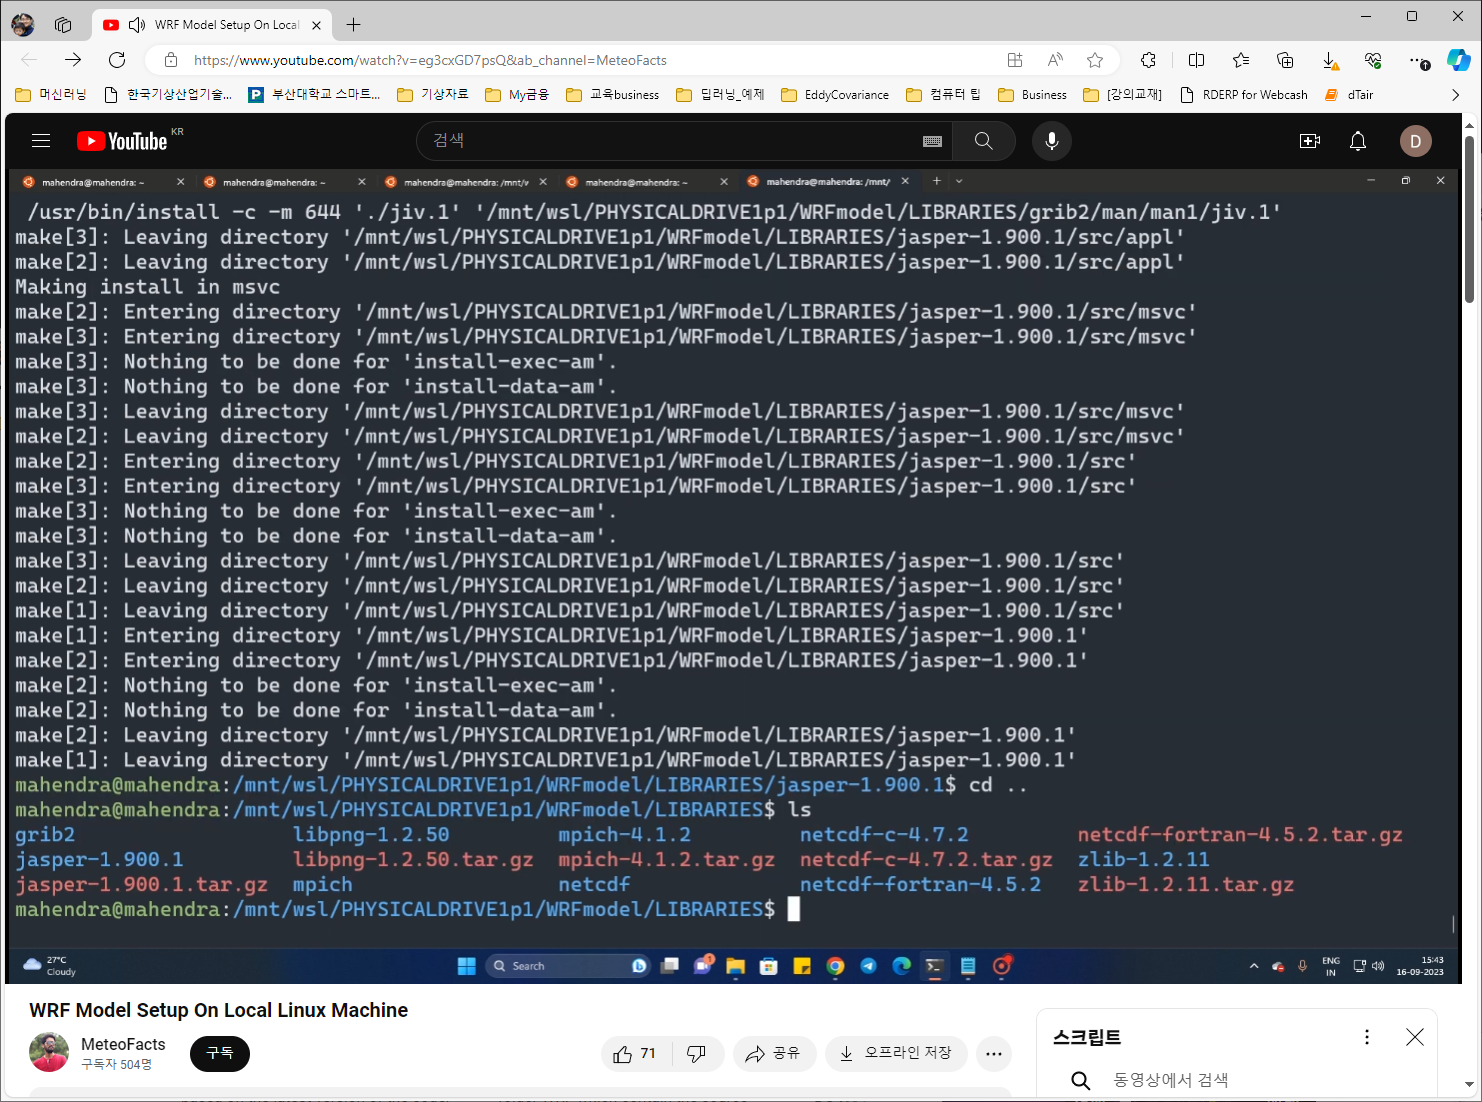
여기까지 모든 library 설치 끝.
9. 설치 library 작동 확인
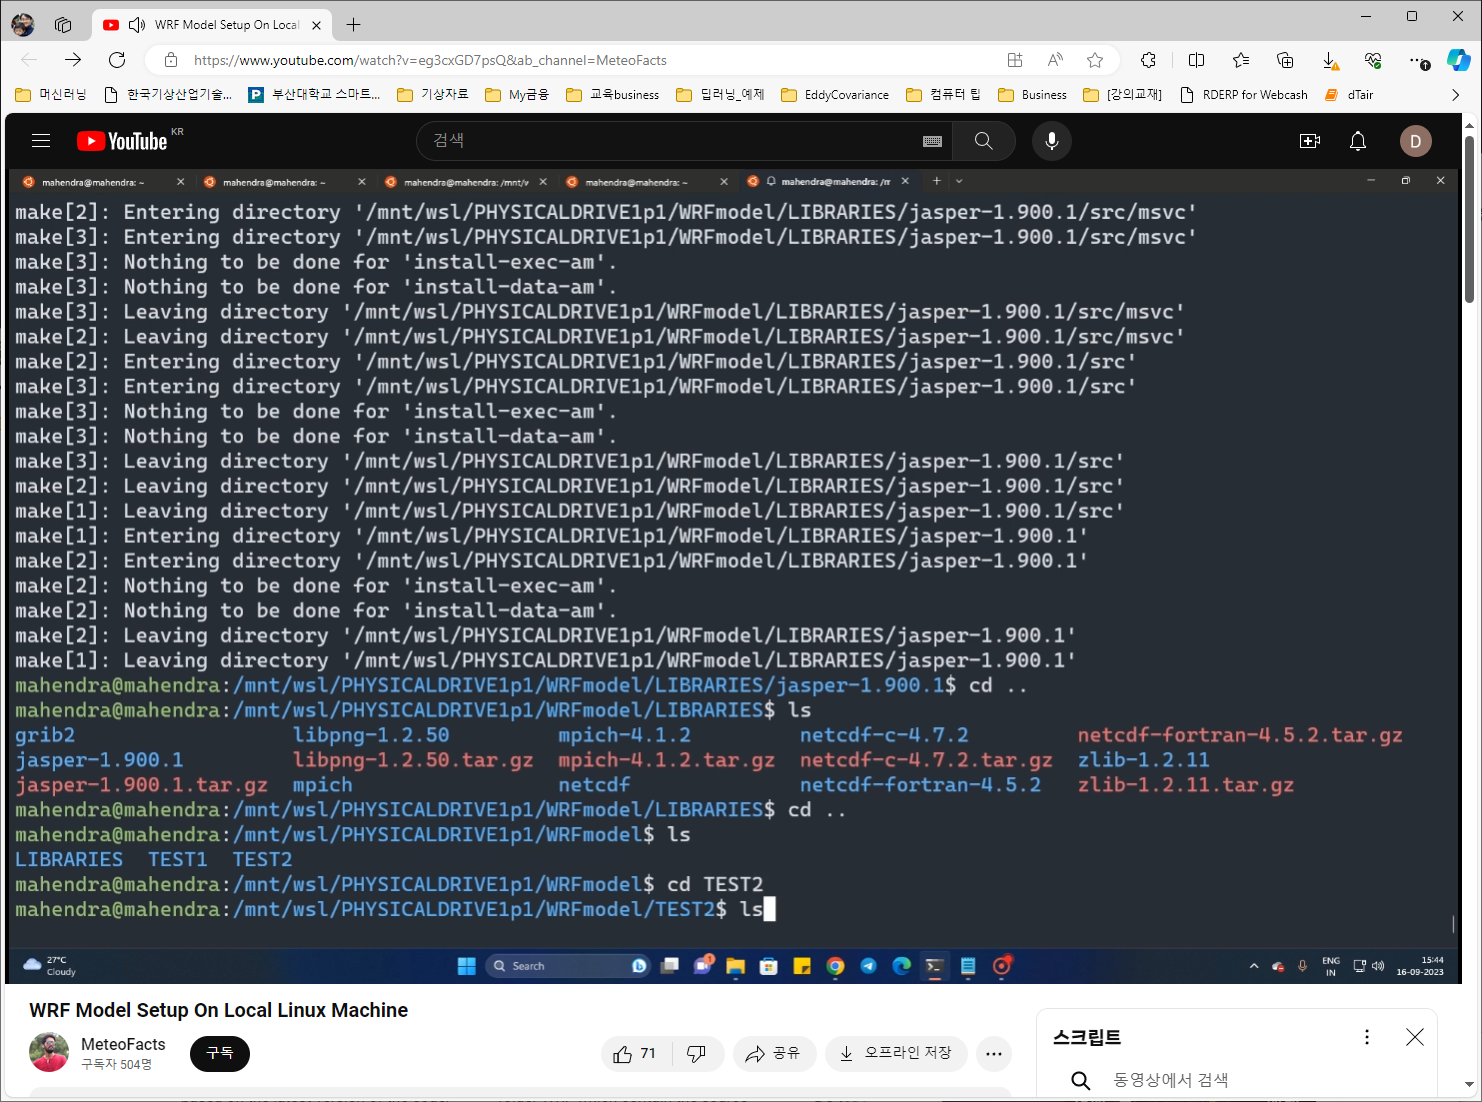
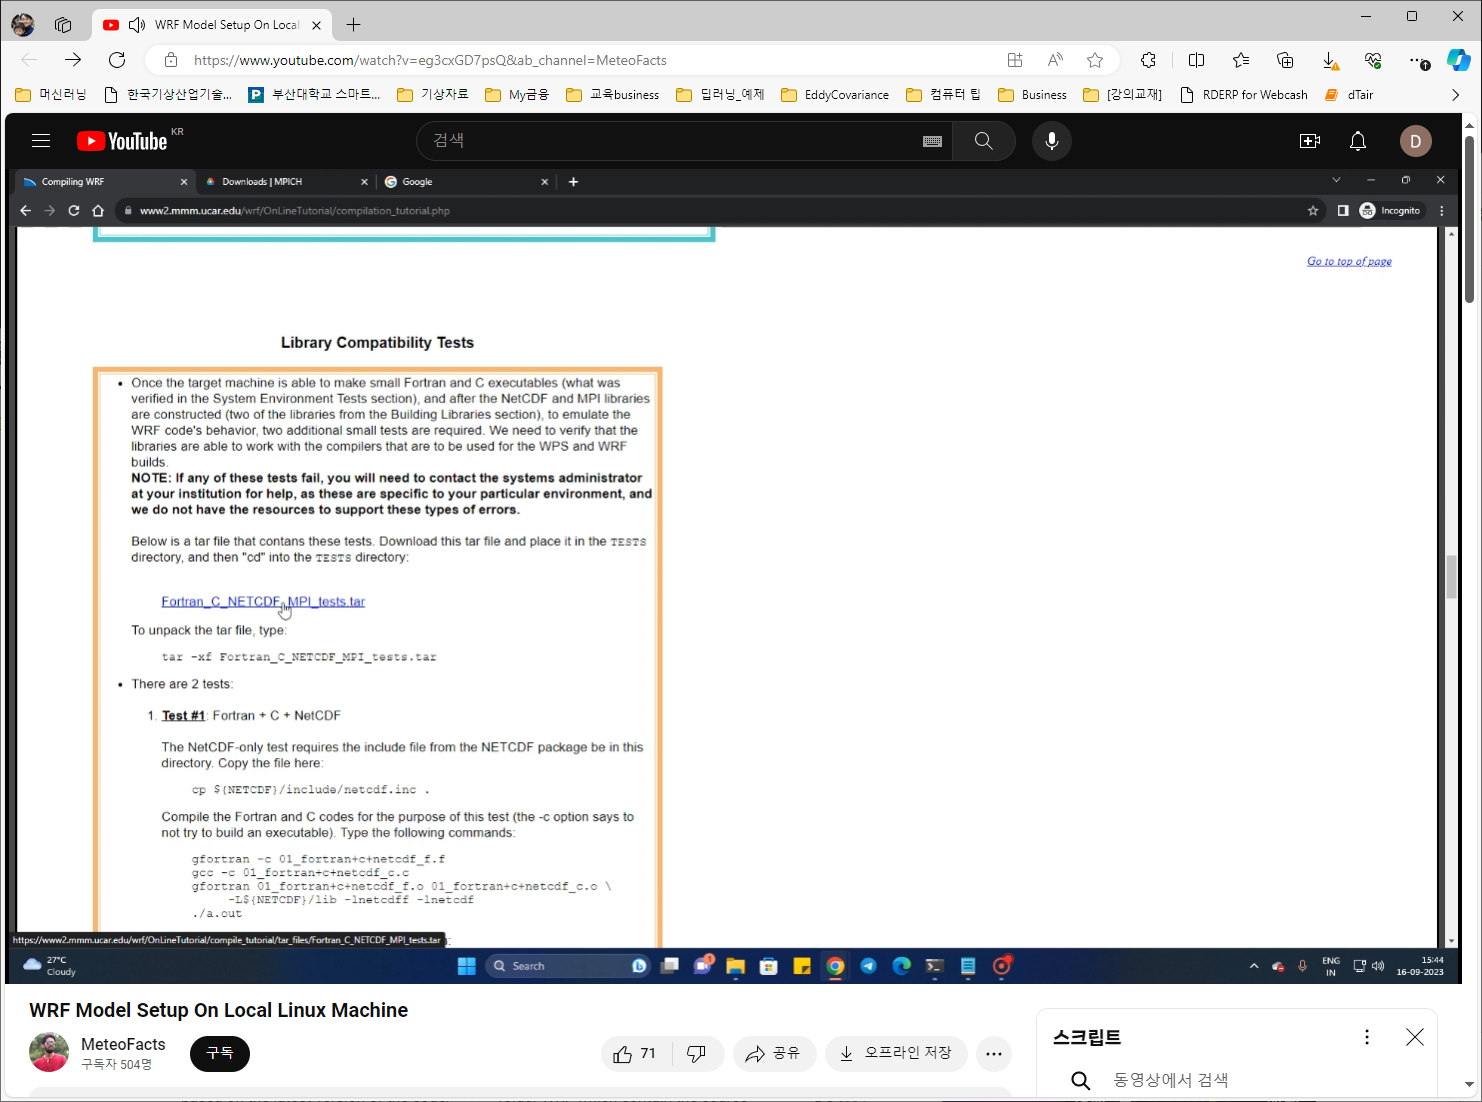
Fortran, C++, mpich 작동 확인
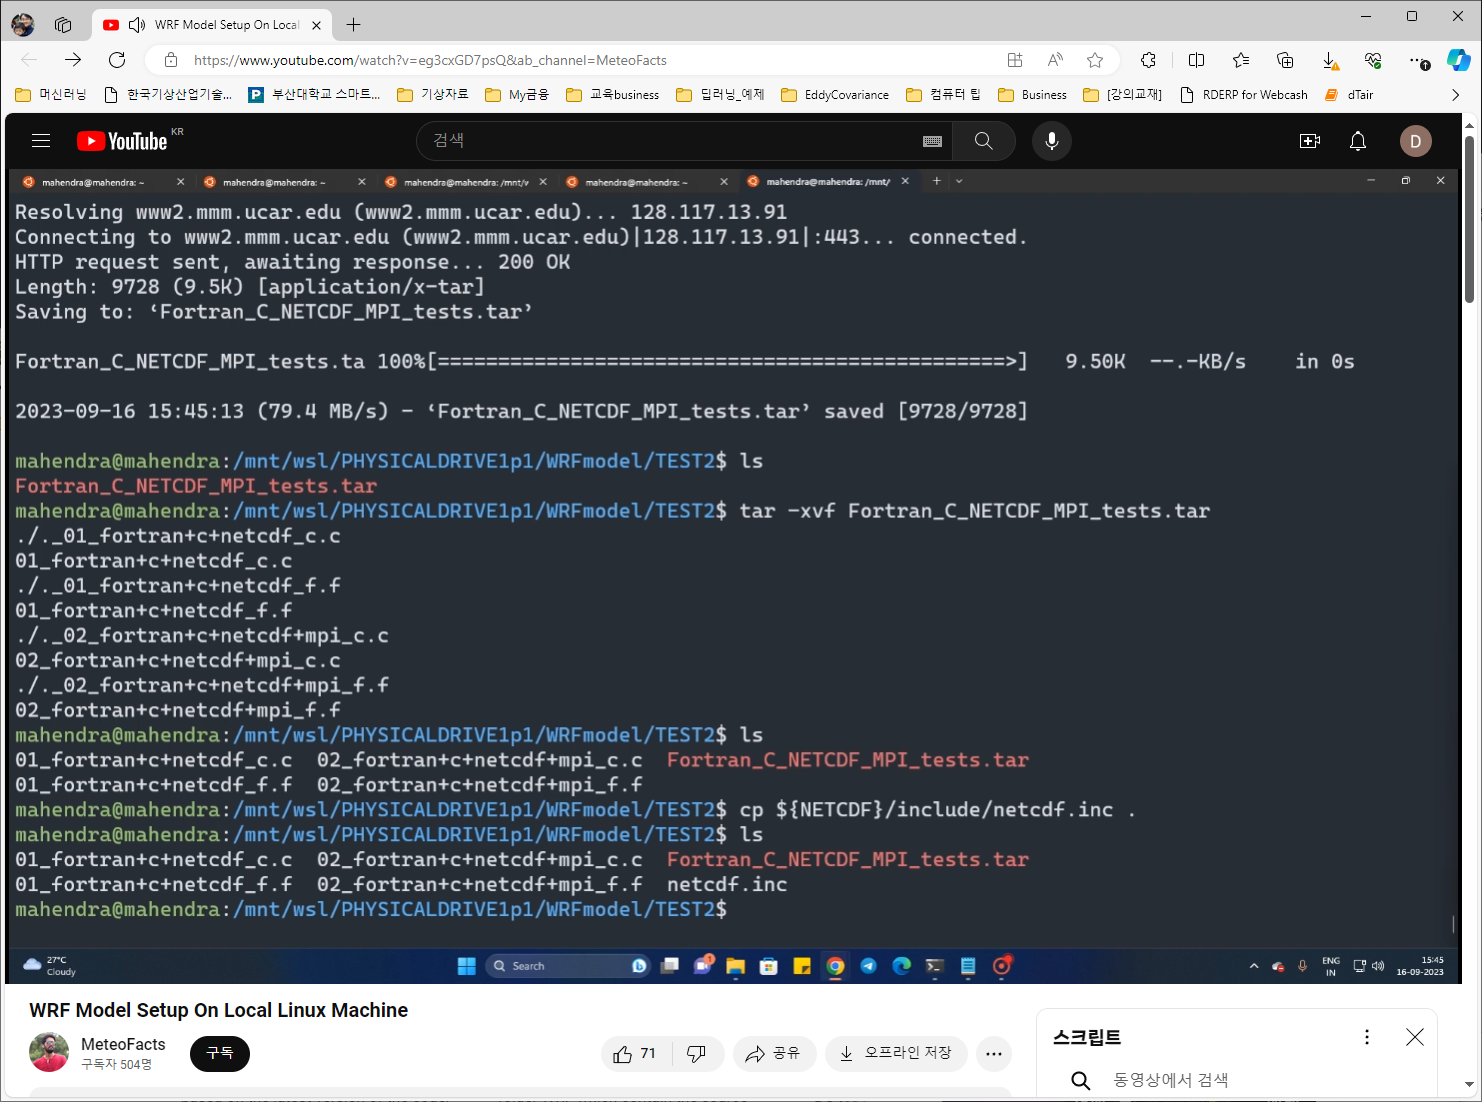
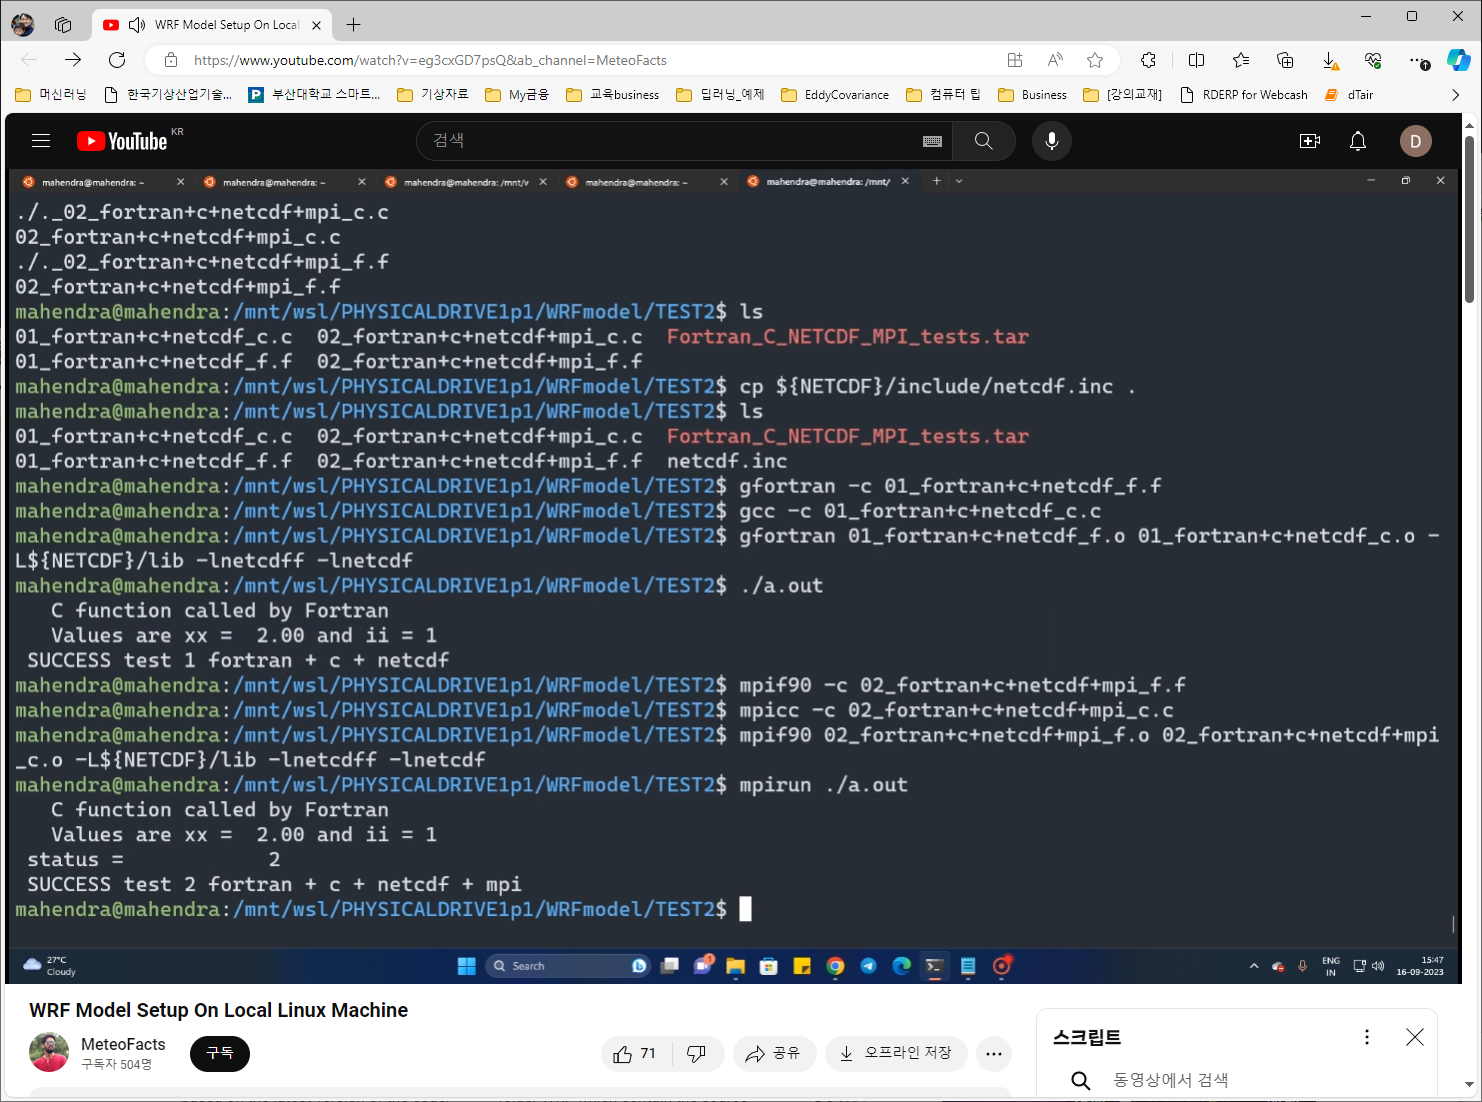
cp ${NETCDF}/include/netcdf.inc .
gfortran -c 01_fortran+c+netcdf_f.f
gcc -c 01_fortran+c+netcdf_c.c
gfortran 01_fortran+c+netcdf_f.o 01_fortran+c+netcdf_c.o -L${NETCDF}/lib -lnetcdff -lnetcdf
./a.out
mpif90 -c 02_fortran+c+netcdf+mpi_f.f
mpicc -c 02_fortran+c+netcdf+mpi_c.c
mpif90 02_fortran+c+netcdf+mpi_f.o 02_fortran+c+netcdf+mpi_c.o -L${NETCDF}/lib -lnetcdff -lnetcdf
./a.out